How to Make a Cheese Board
6/22/2022
This post may contain affiliate links. Please read our disclosure policy.
Our favorite appetizer to share is a big cheese board filled with different cheeses, meats, crackers, and fruit! We can teach you how to make a cheese board with a few simple tips and tricks.
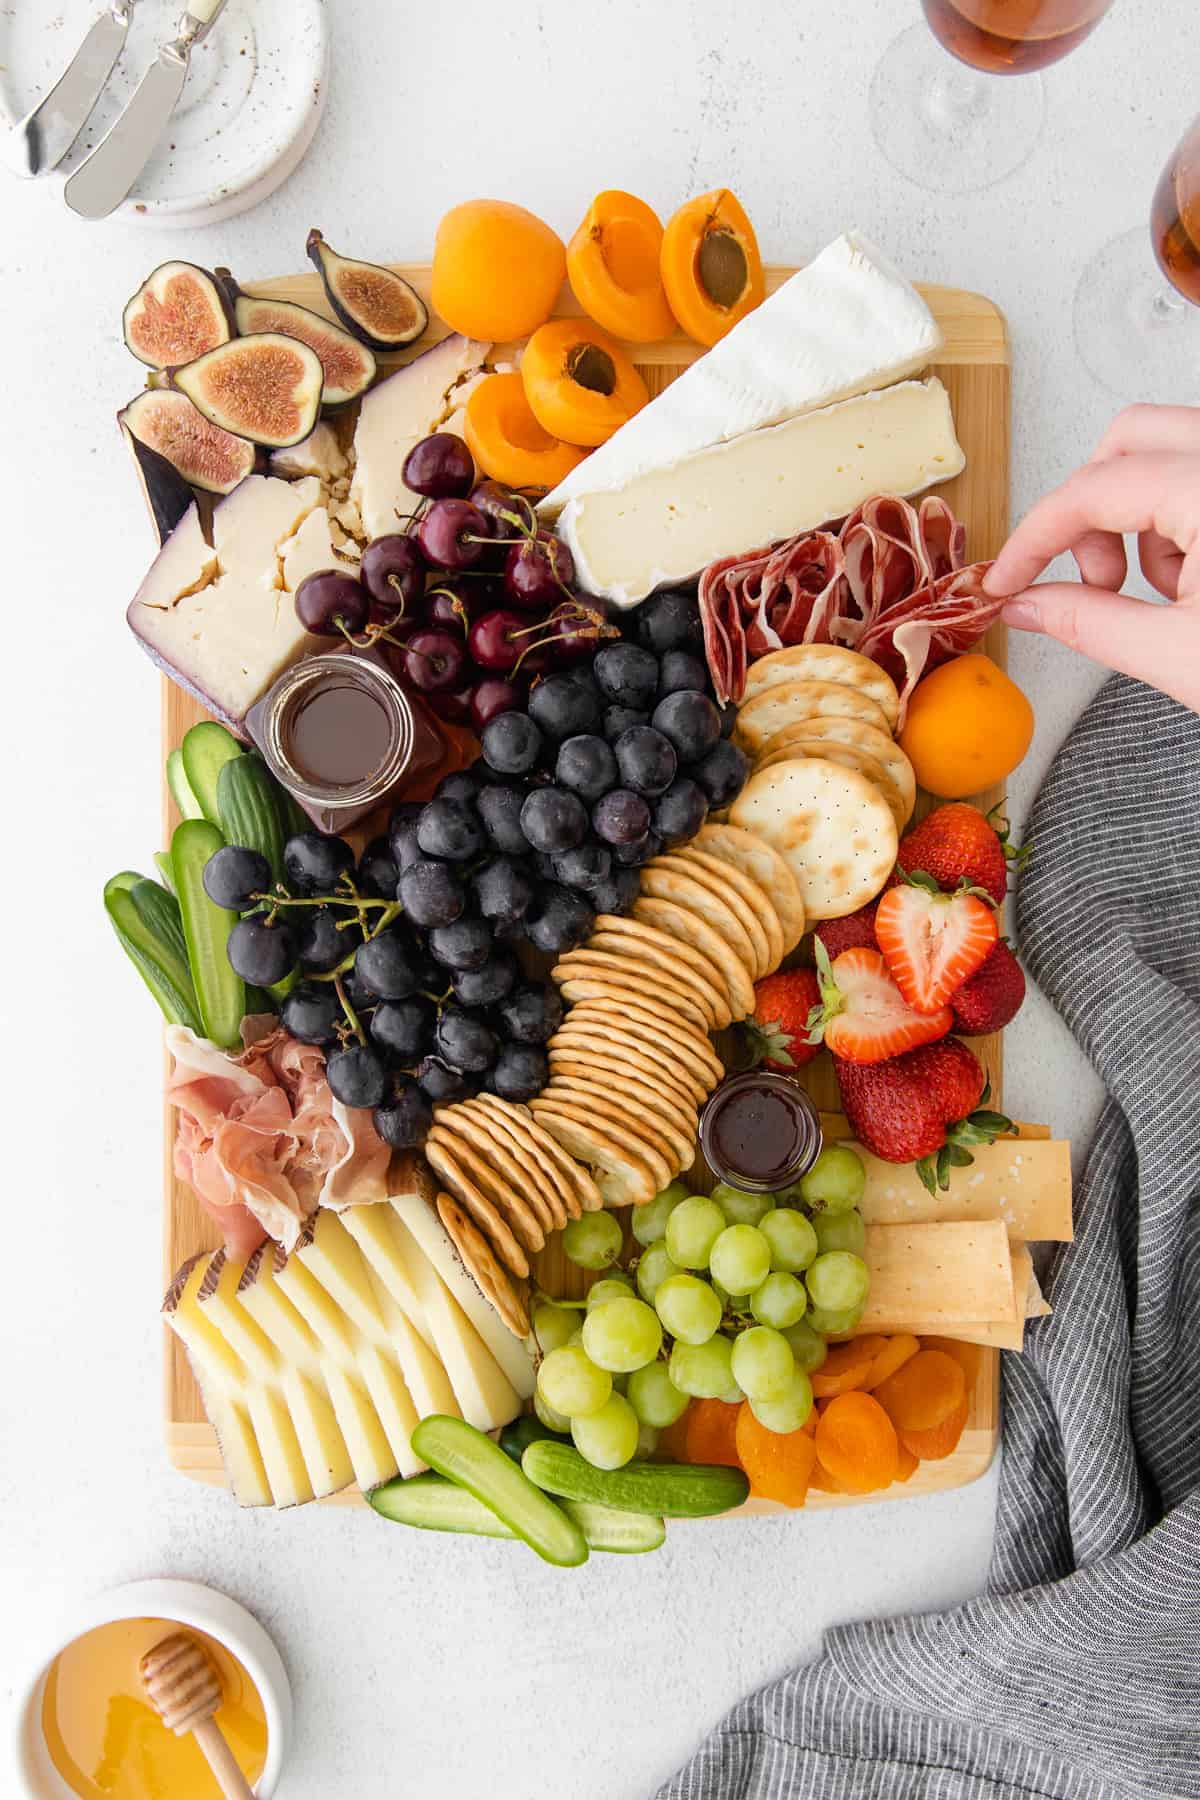
Nothing is better than a perfect cheese board on a summer day. It’s the perfect appetizer because it really encompasses all the different snacks, and pairs perfectly with a glass of wine.
If you love all things cheese, try our Cheddar Bacon Cream Cheese Dip, Baked Goat Cheese Balls, and Smoked Cream Cheese. Each would be a delicious addition to your spread!
What is the difference between a cheese board and a charcuterie board?
While charcuterie boards and cheese boards are very similar (sometimes the same!) the different terminology is based on what they are referencing.
Charcuterie references different types of meats served together, and a cheese board references different types of cheeses served together.
Before you start:
Some key things to keep in mind– every board should have an abundance of flavor, texture, and color.
Additionally, the goal is to get a full, overflowing cheese board. Boards that are full are inviting and people usually don’t hesitate to dig in.
Step 1: Choose Your Cheese
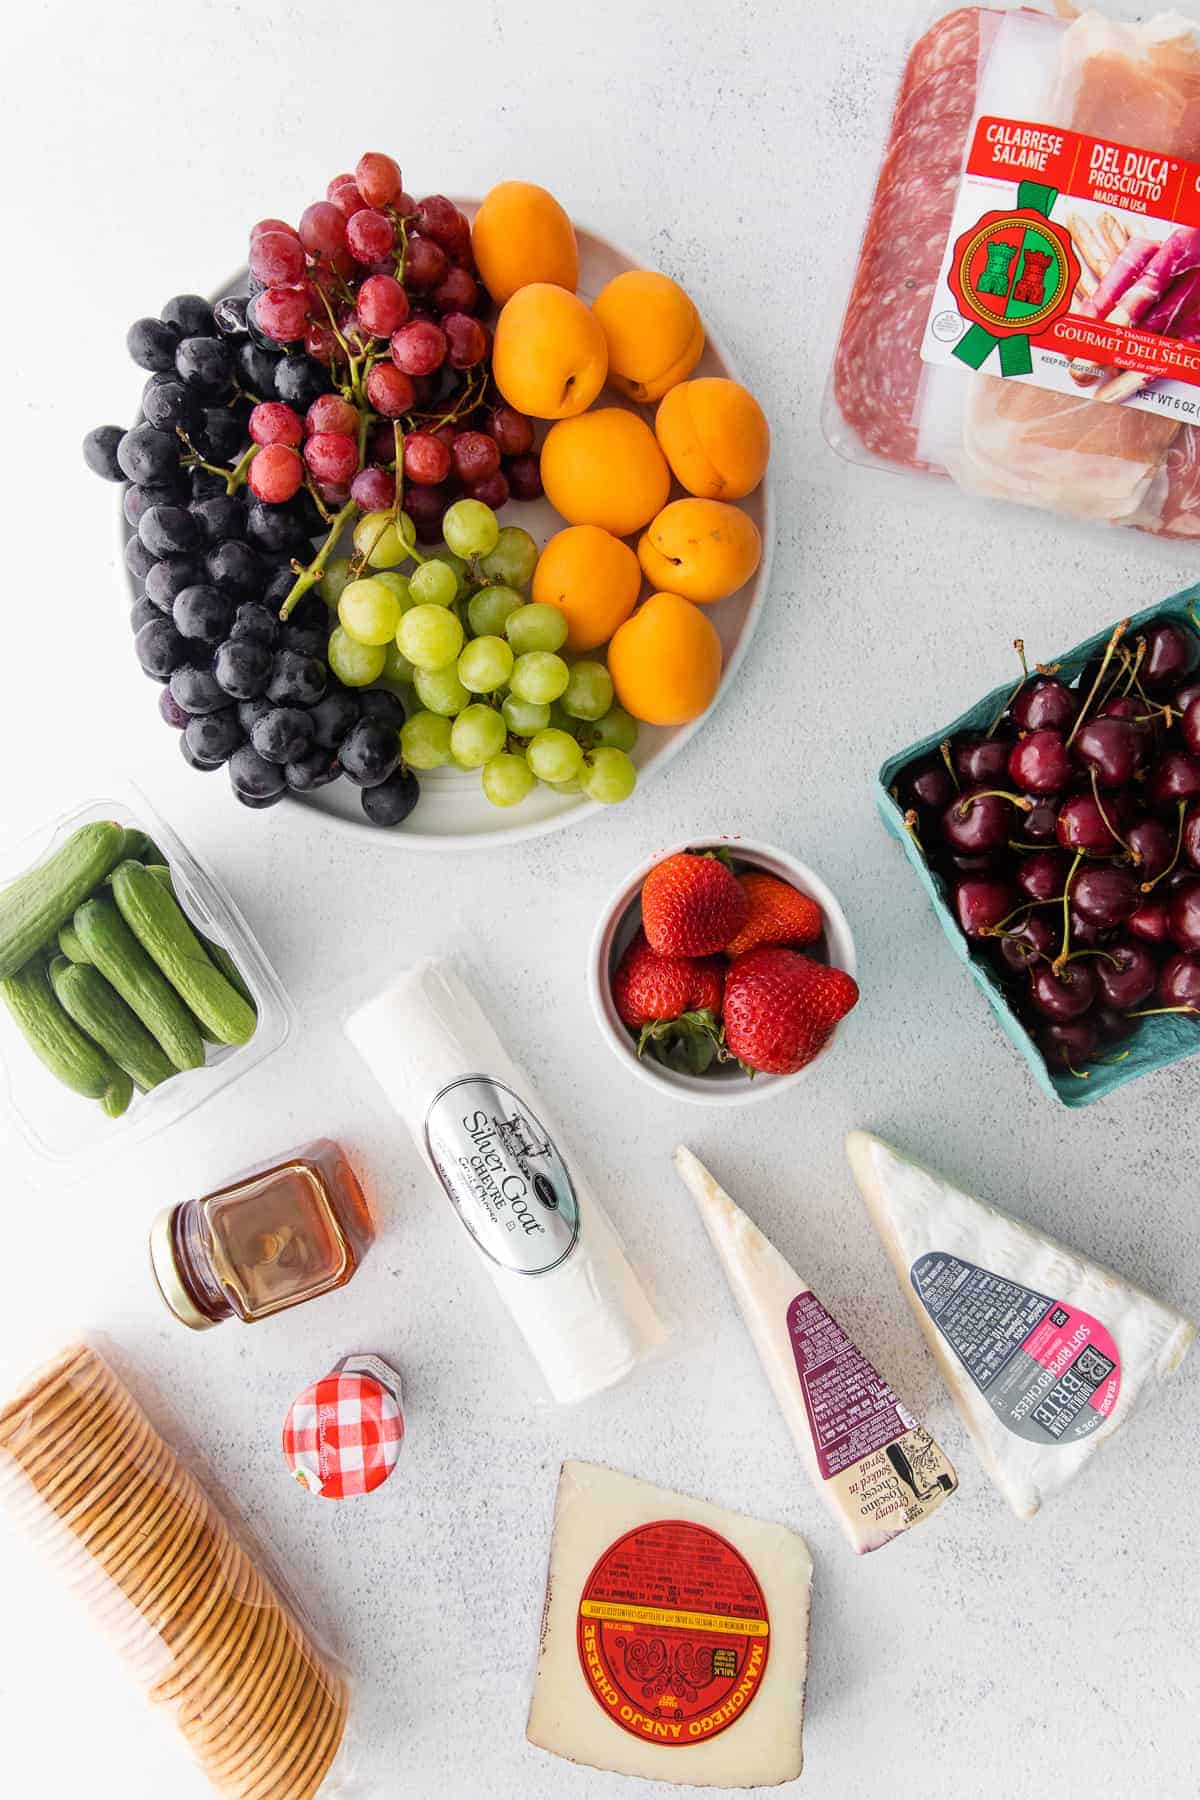
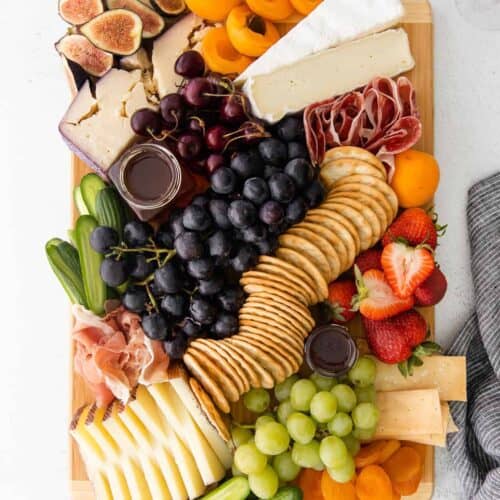
When I’m making a cheese board for a party, I like to opt for a variety of cheeses. Something hard, something soft, and something fun! In this case, we’ve chosen:
- 12-month aged manchego
- Double cream brie
- merlot-washed cheese
These are 3 kinds of cheese that pair really well together and are a favorite of ours for cheese board building. If you want to switch it up try using camembert, drunken goat cheese, chevre, or stilton blue.
How much cheese per person?
A good rule of thumb when planning for your cheese board is to make sure you have anywhere from 1/4 lb to 1/2 lb. cheese per person. If you’re serving this as an appetizer, you’ll be just fine with around 1/4 lb. cheese per person.
Step 2: Fruits and Vegetables
While the cheese board may be about the cheese, it’s also about everything else that is on the board. But the key to this is making sure the elements you add to the board compliment the cheeses.
The first thing I pick out once I’ve decided on my cheese is fresh fruit. What’s in season? Grapes are usually great year-round. Peaches, apricots, and figs are great in the summer. In the winter I usually opt for apples and pears. Different textures are the goal here, people!
Feel free to grab whatever looks best! When choosing vegetables, I usually grab things that look fun– on this board I chose mini cucumbers. Carrots, tomatoes, and broccoli are other great options as well! I always like to include a good serving of fruit and vegetables on my boards in case I have any vegan / dairy-free guests.
Step 3: Crackers/Crunchies and Meat
Crackers are super easy to pick out– usually, I like to have one plain, standard cracker and one fun cracker on the board. In this case, I used a plain water cracker and a rosemary sea salt firehook cracker.
In addition to crackers, you can add in some crunchies such as a handful of nuts, popcorn, or even Chex mix!
Cured meats are completely optional on a cheese board, but they’re a great thing to have around if you want a salty, meaty bite. My favorite cured meat to add to a board is prosciutto (specifically prosciutto di parma followed by prosciutto di san danielle) but a few other options would be hard salami, capicola, or summer sausage. Including a variety of meats helps there be contrast with creamy brie and other delicious cheeses.
Keep in mind that not all cured meats are created equal! If you have a specialty food store around that can slice your cured meats to order, I highly recommend it! If my only option is a pre-cut store-bought cured meat, I usually skip it as the flavor and texture are usually more muted.
Step 4: Dips and Spreads
The last thing you need for your cheese board is an array of dips and spreads! Think sweet and salty and everything in between that would pair well with your cheese.
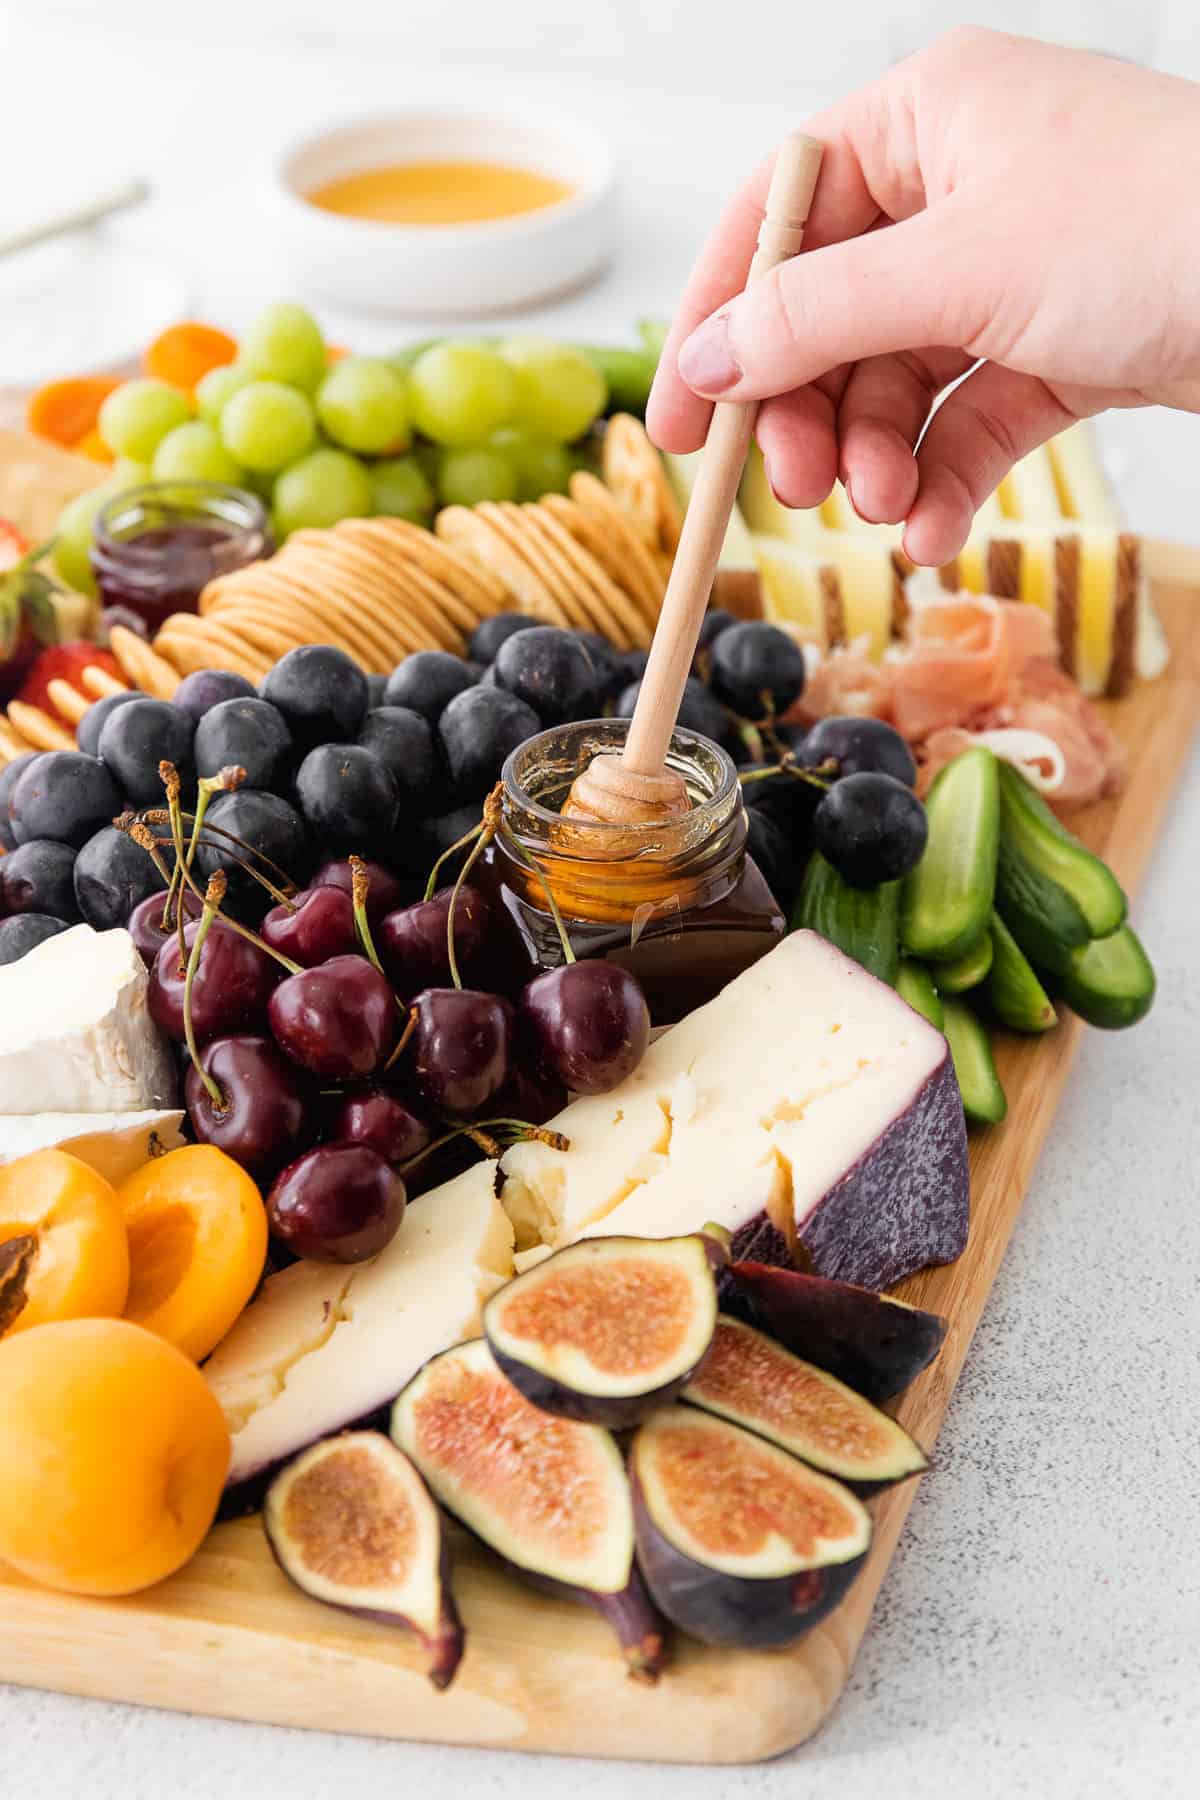
In this board, we’re using a jar of honey and raspberry jam, but really anything works. Here are some more ideas:
Picking the Right Board
Now that you’ve chosen all of the elements of your board, it’s time to figure out the actual board your cheese will come to life on. It may feel intimidating, but it really shouldn’t be!
Large
For large crowds or parties, use the biggest board you have– something in the 18-24” range.
Medium
For afternoon cheese boards or appetizers between friends, something in the 10-12” range.
Small
And for small cheese boards for 2 or fewer, I usually opt for something 6-8”. If you don’t have a board, you can always assemble your cheese display right on the counter or table!
Just make sure to put down some parchment or butcher paper first so you don’t end up with too much of a mess.
What kind of board should I use?
You’re more than welcome to use cheese board specific cheese boards, but really anything will work! So don’t feel pressured to spend a ton of money on an expensive board.
- cutting boards
- baking sheet
- casserole dish
- marble slab
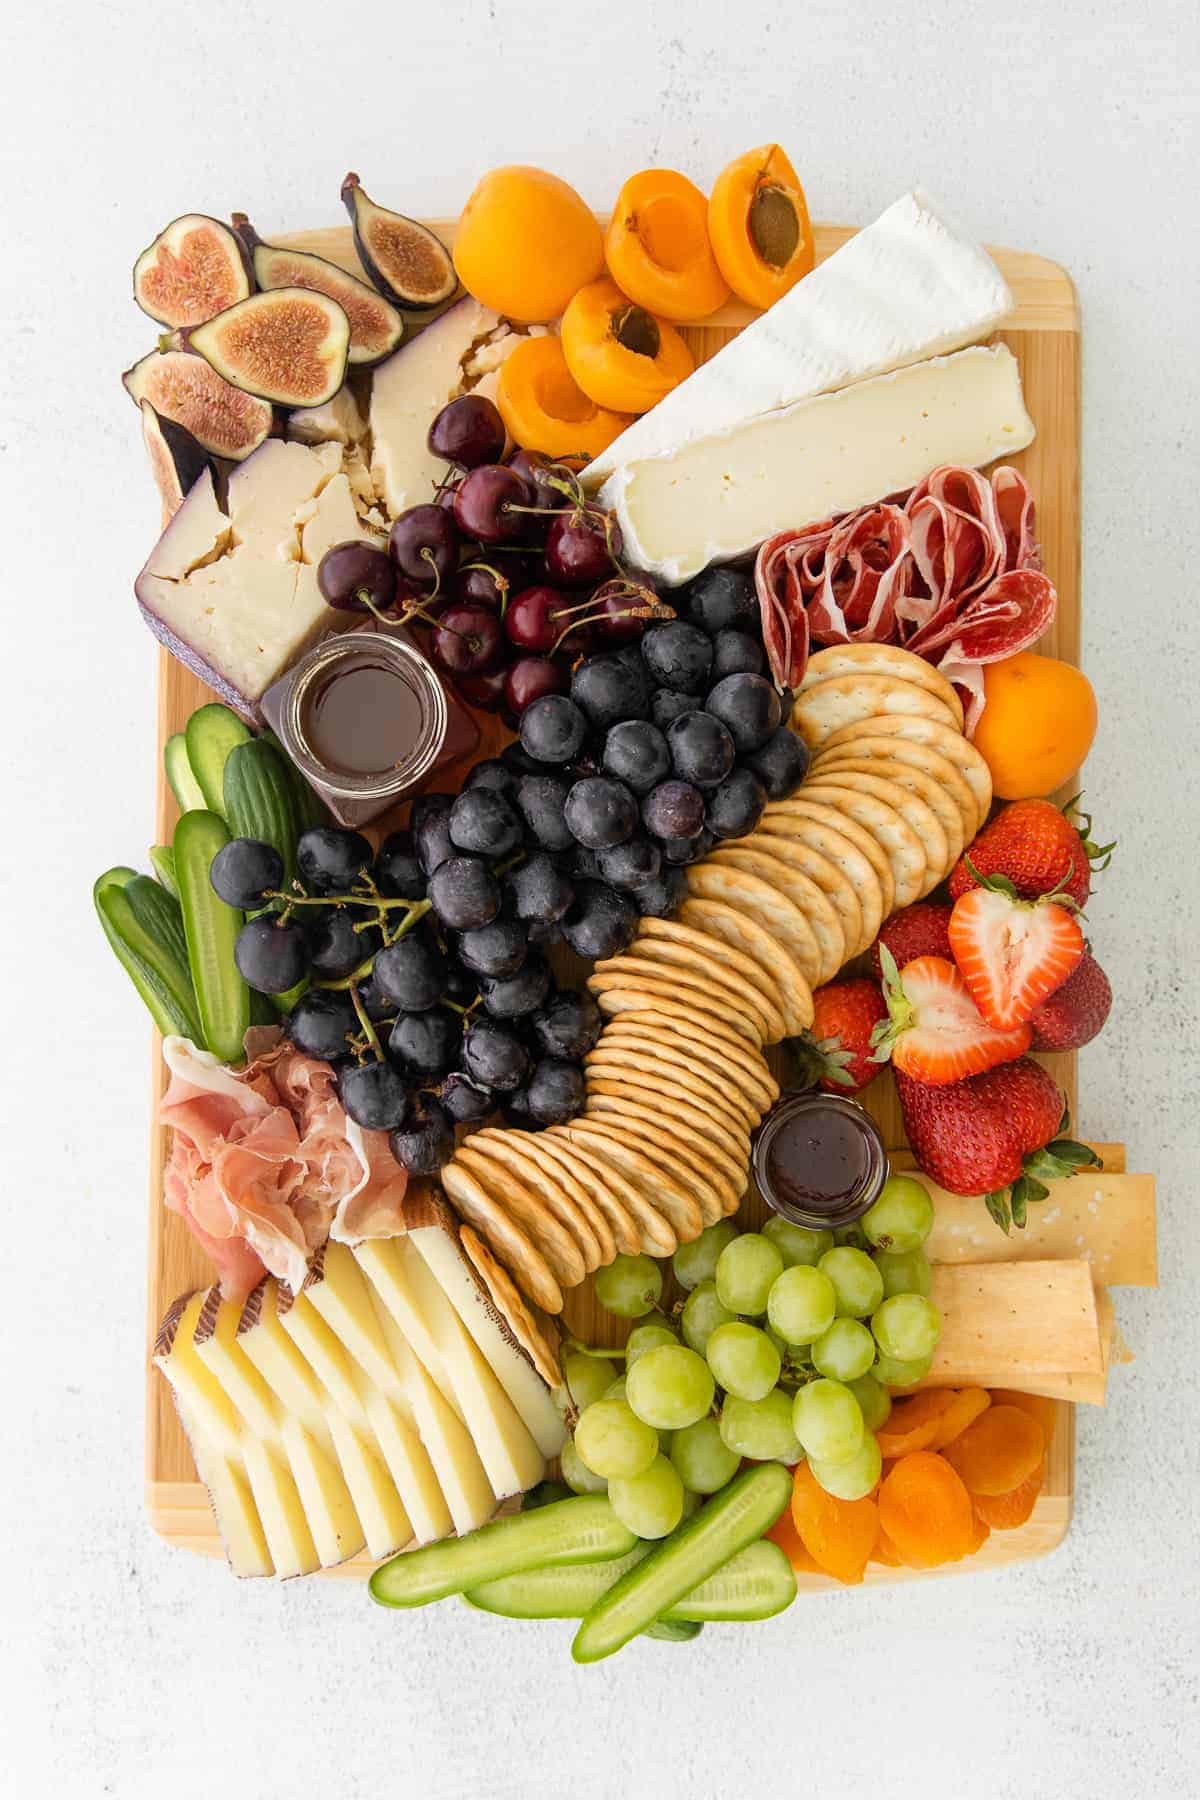
Assembly
How you assemble the cheese board is just as important as picking out the right elements to go on it.
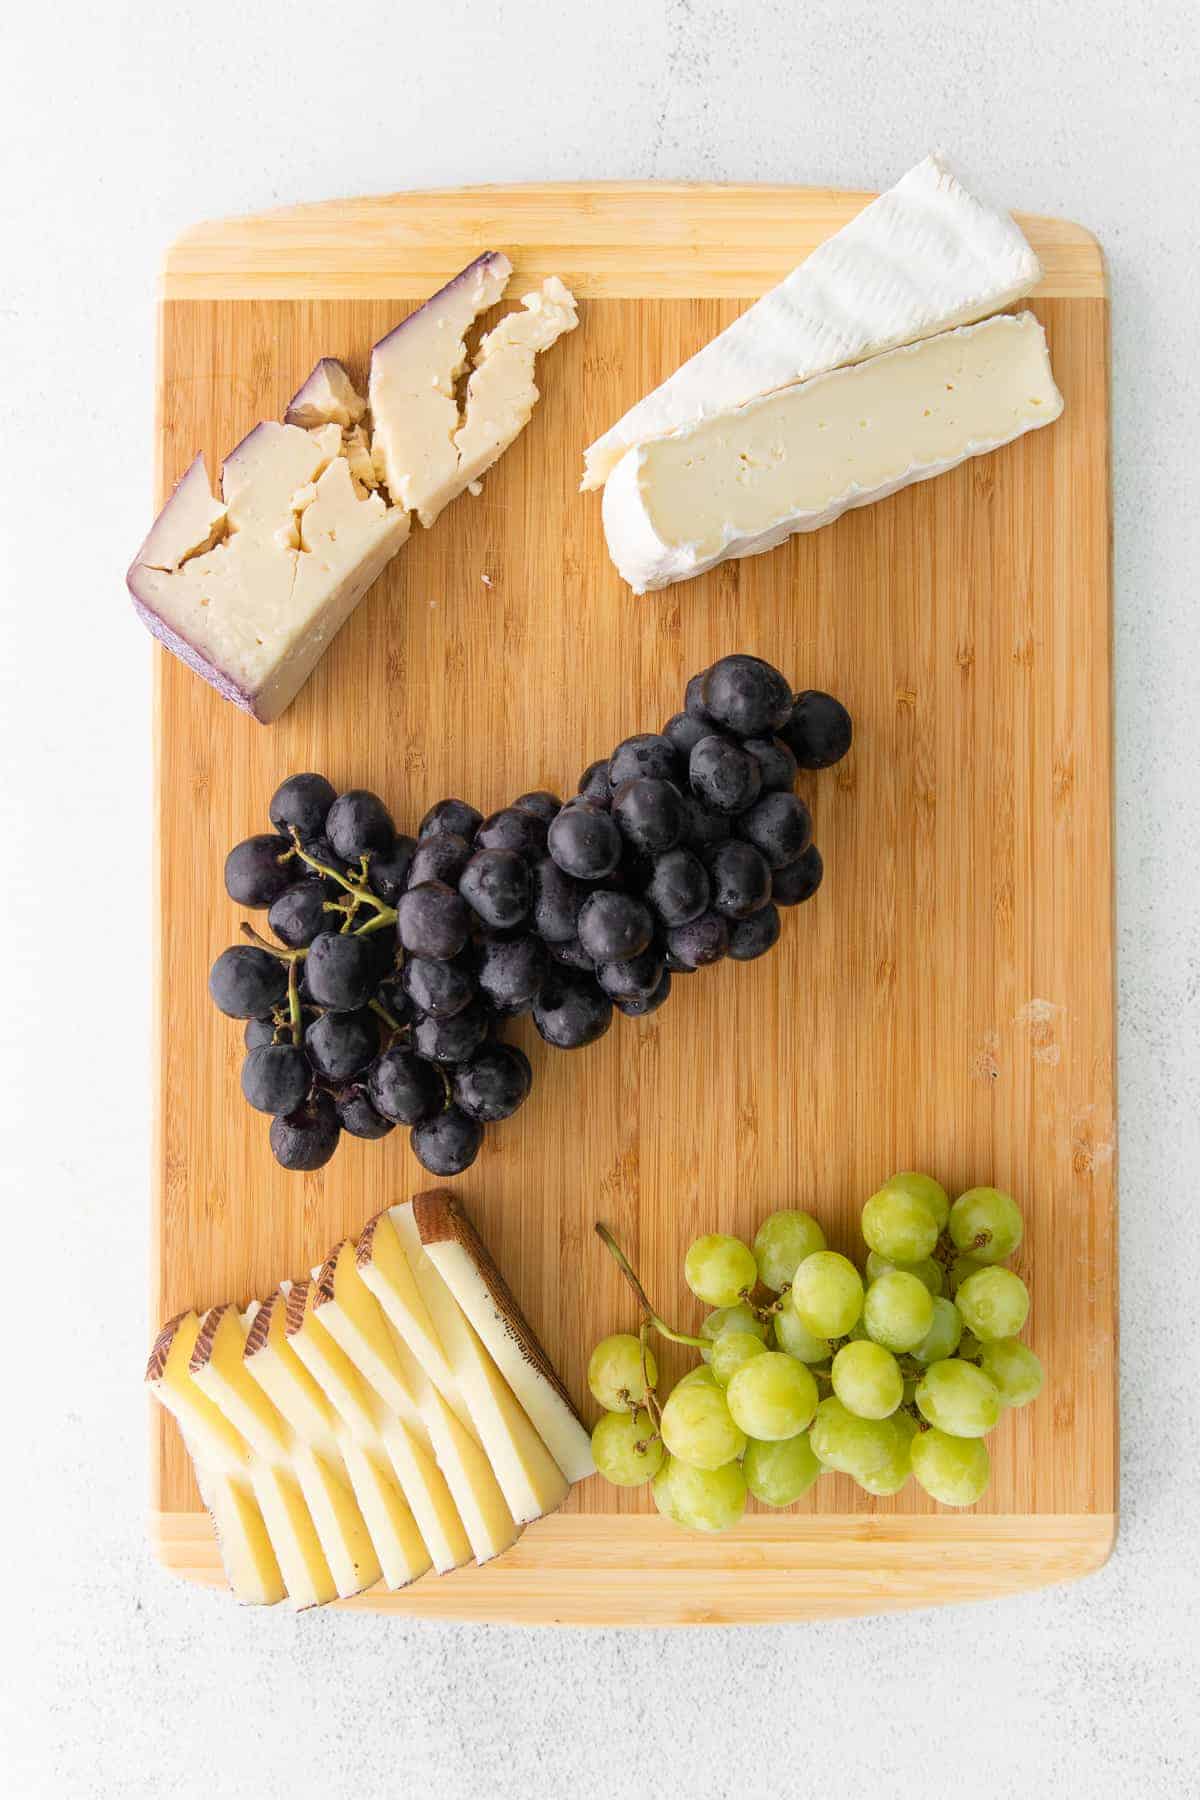
- First, add your largest elements– usually blocks of cheese, bunches of grapes, bowls of olives, etc.
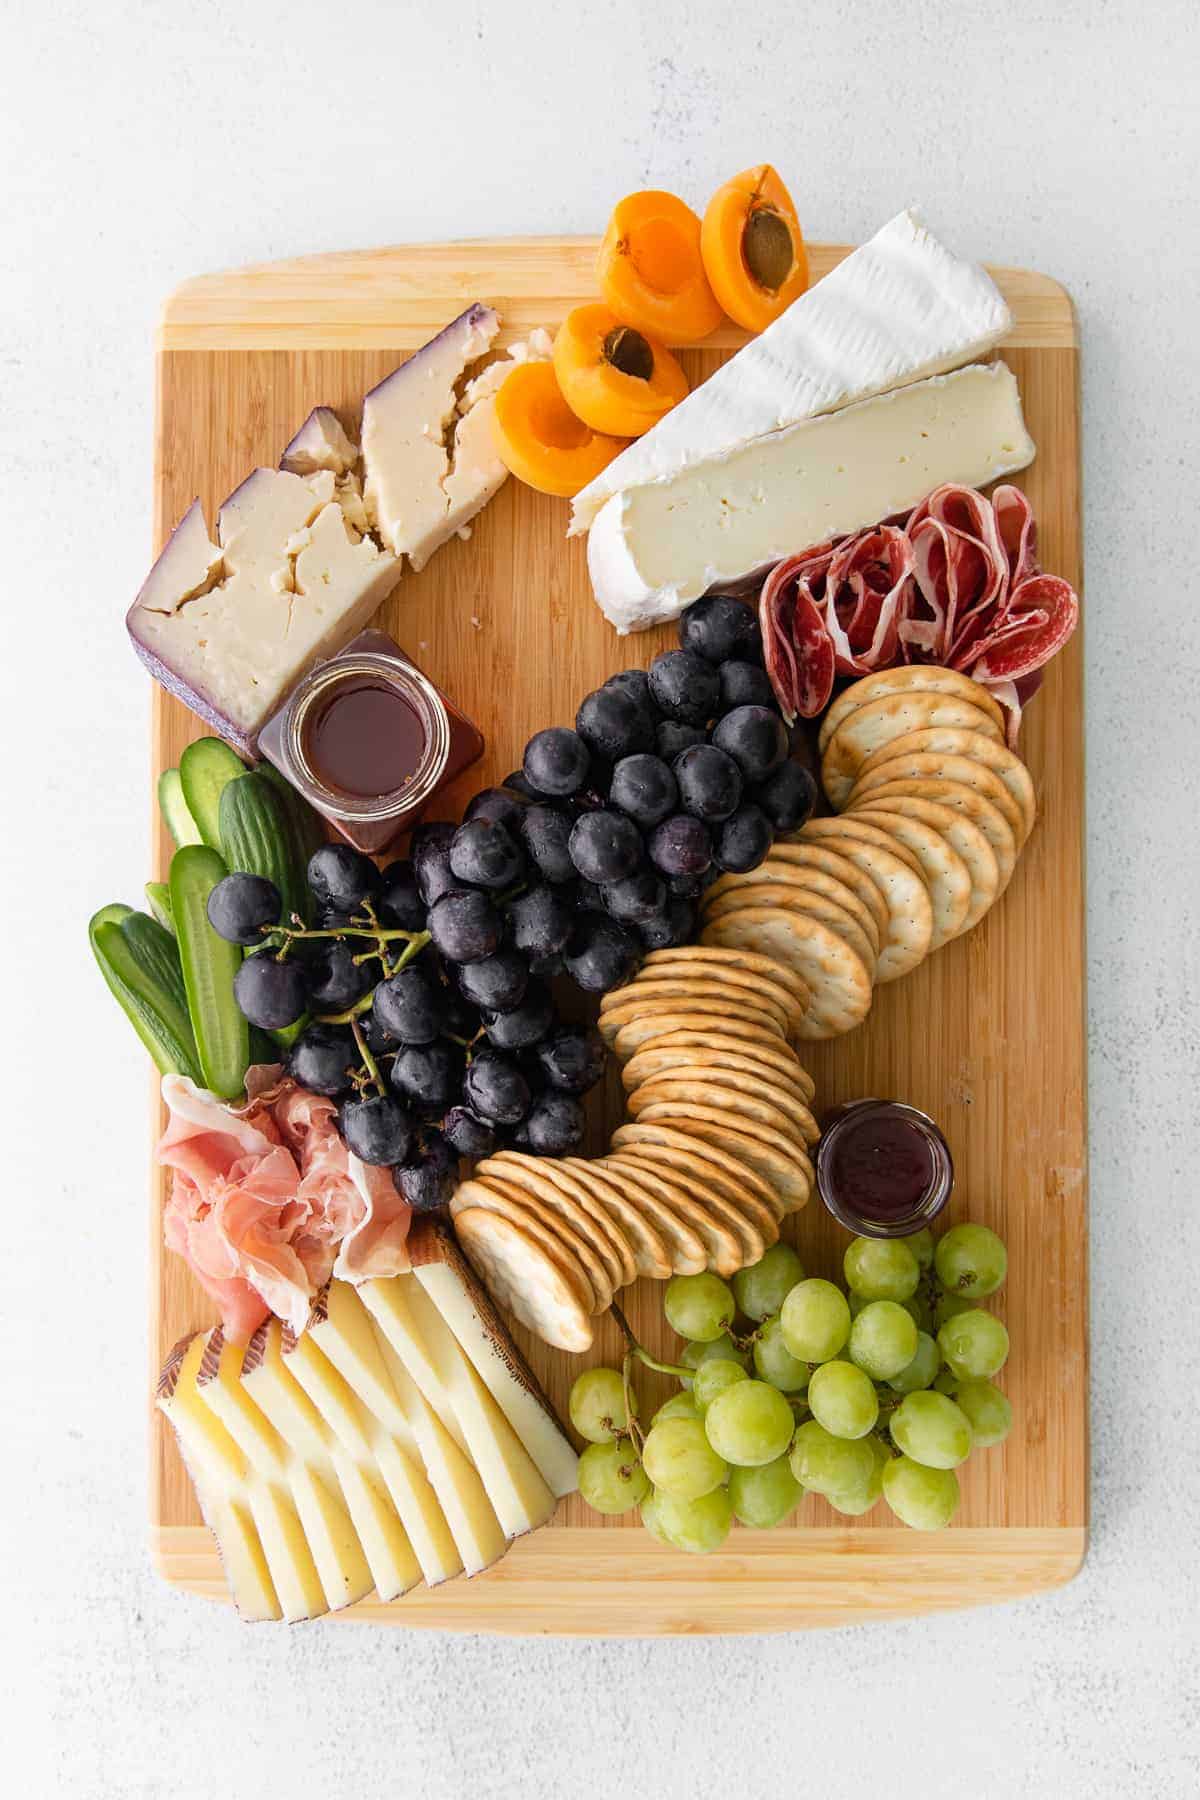
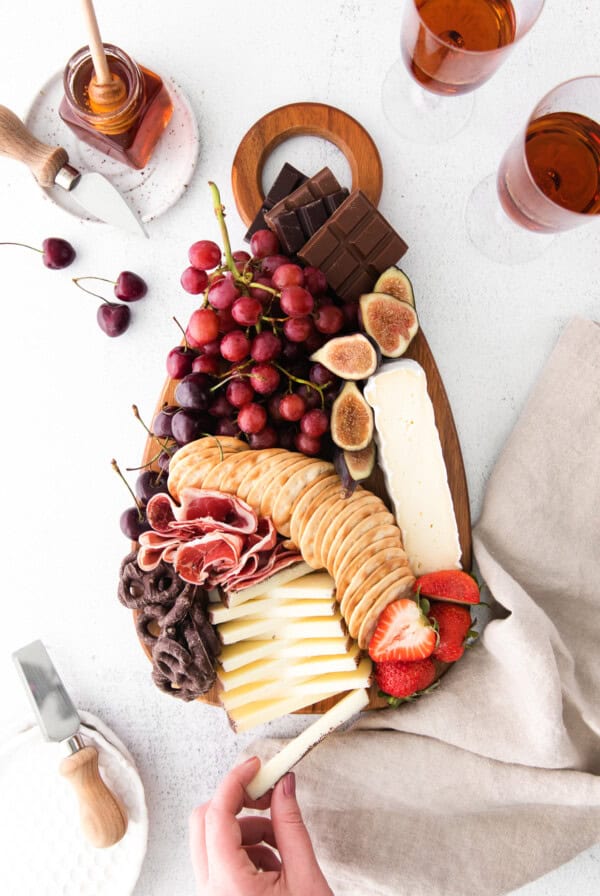
- Step two is to create movement though the board. In this case, we added the crackers in a wave through the center of the board with the cured meats on either side. Creating a smooth, flowing element through the board will help it look more composed and less like you just threw a bunch of stuff on a plate.
- Next, start filling in with your larger “extras.” In this case the honey, jam, cucumbers, and apricots were next on the board.
- Finally, fill it all in– making sure to add things in large piles so you really get to see each element. We added figs, dried apricots, and more of all of our “extras” to really over the board!
Tips for a Beautiful & Delicious Cheese Board
#1 Tip – fill it up!
The number one most important tip: make your board look abundant! I try to cover up as much of the wood as possible– you want people to see all of the delicious food, not an empty board.
Start the Cheeses
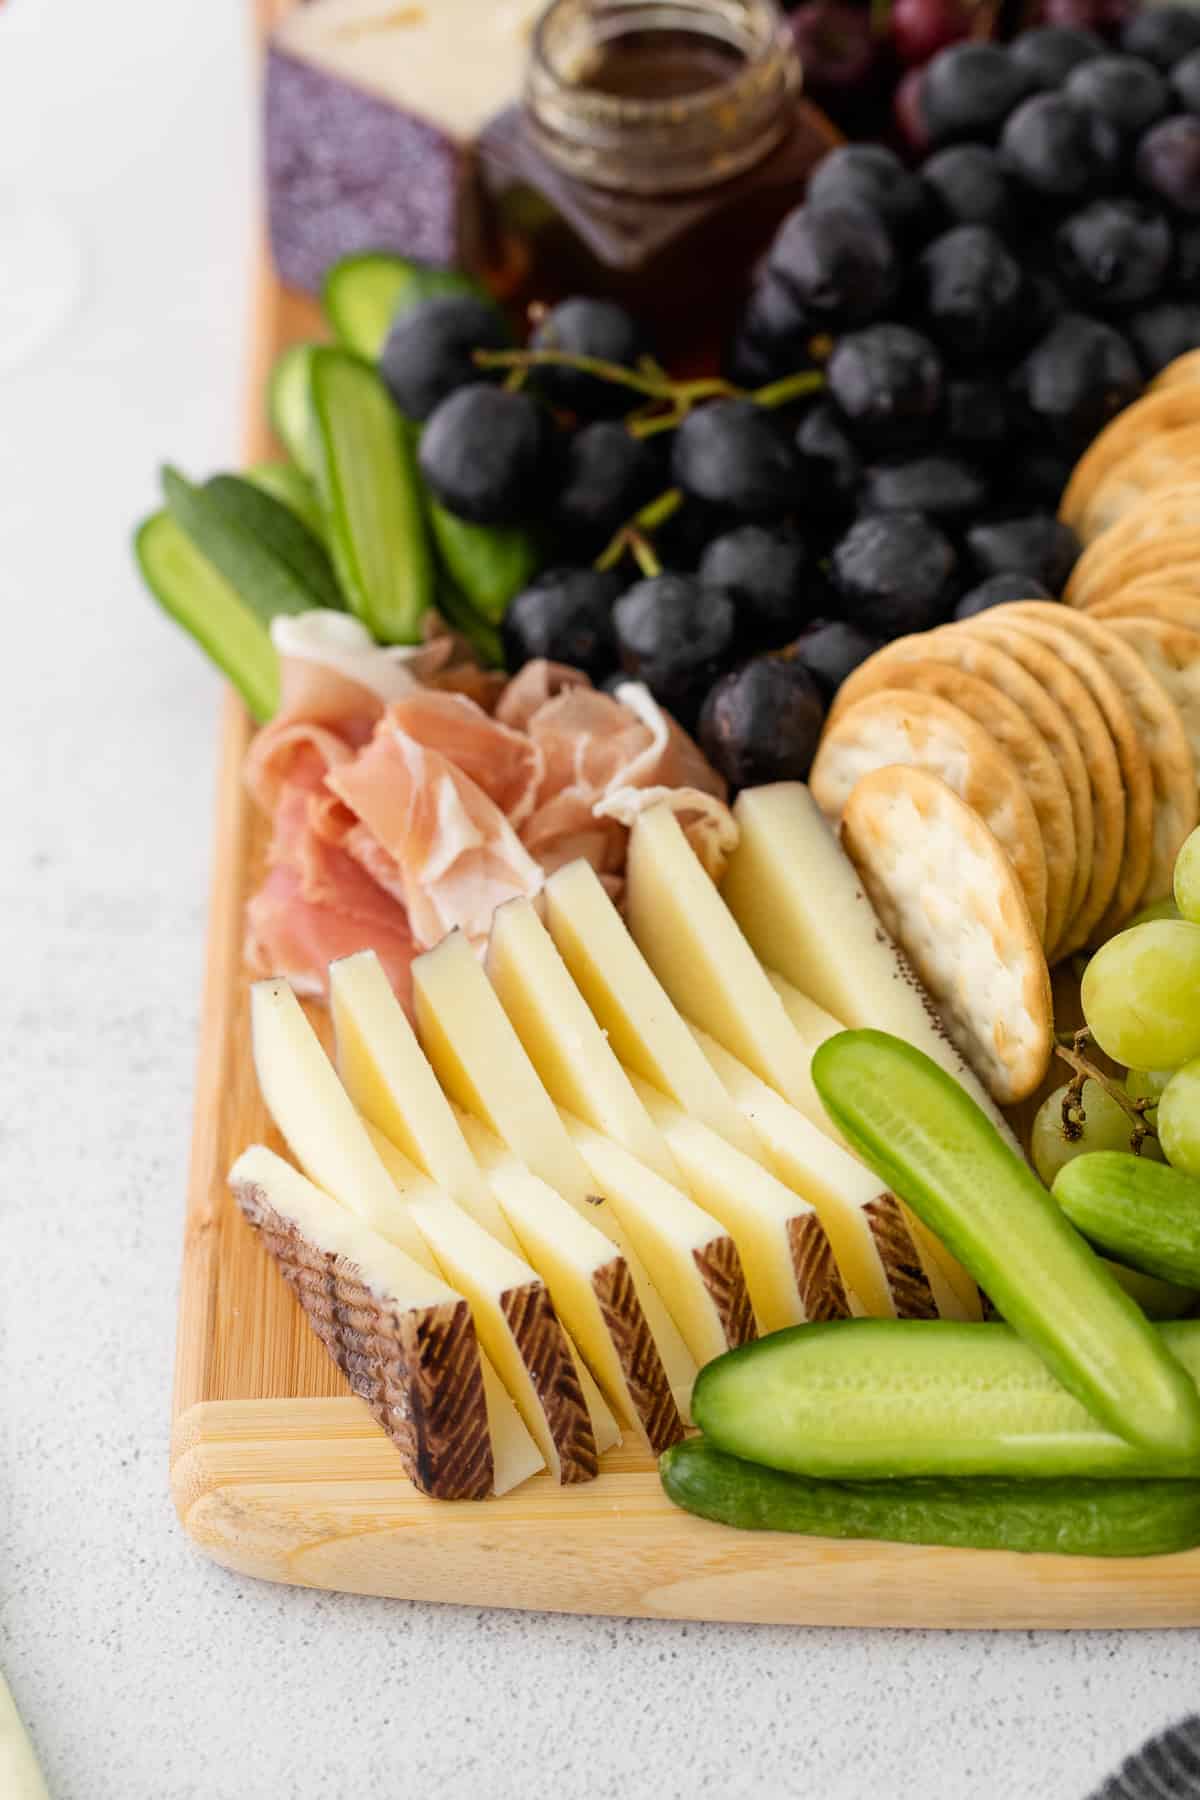
Another great trick to get people to actually enjoy the board is to “start the cheeses.” No one wants to be the first person to cut into a piece of cheese, but they’ll take some if it’s already cut.
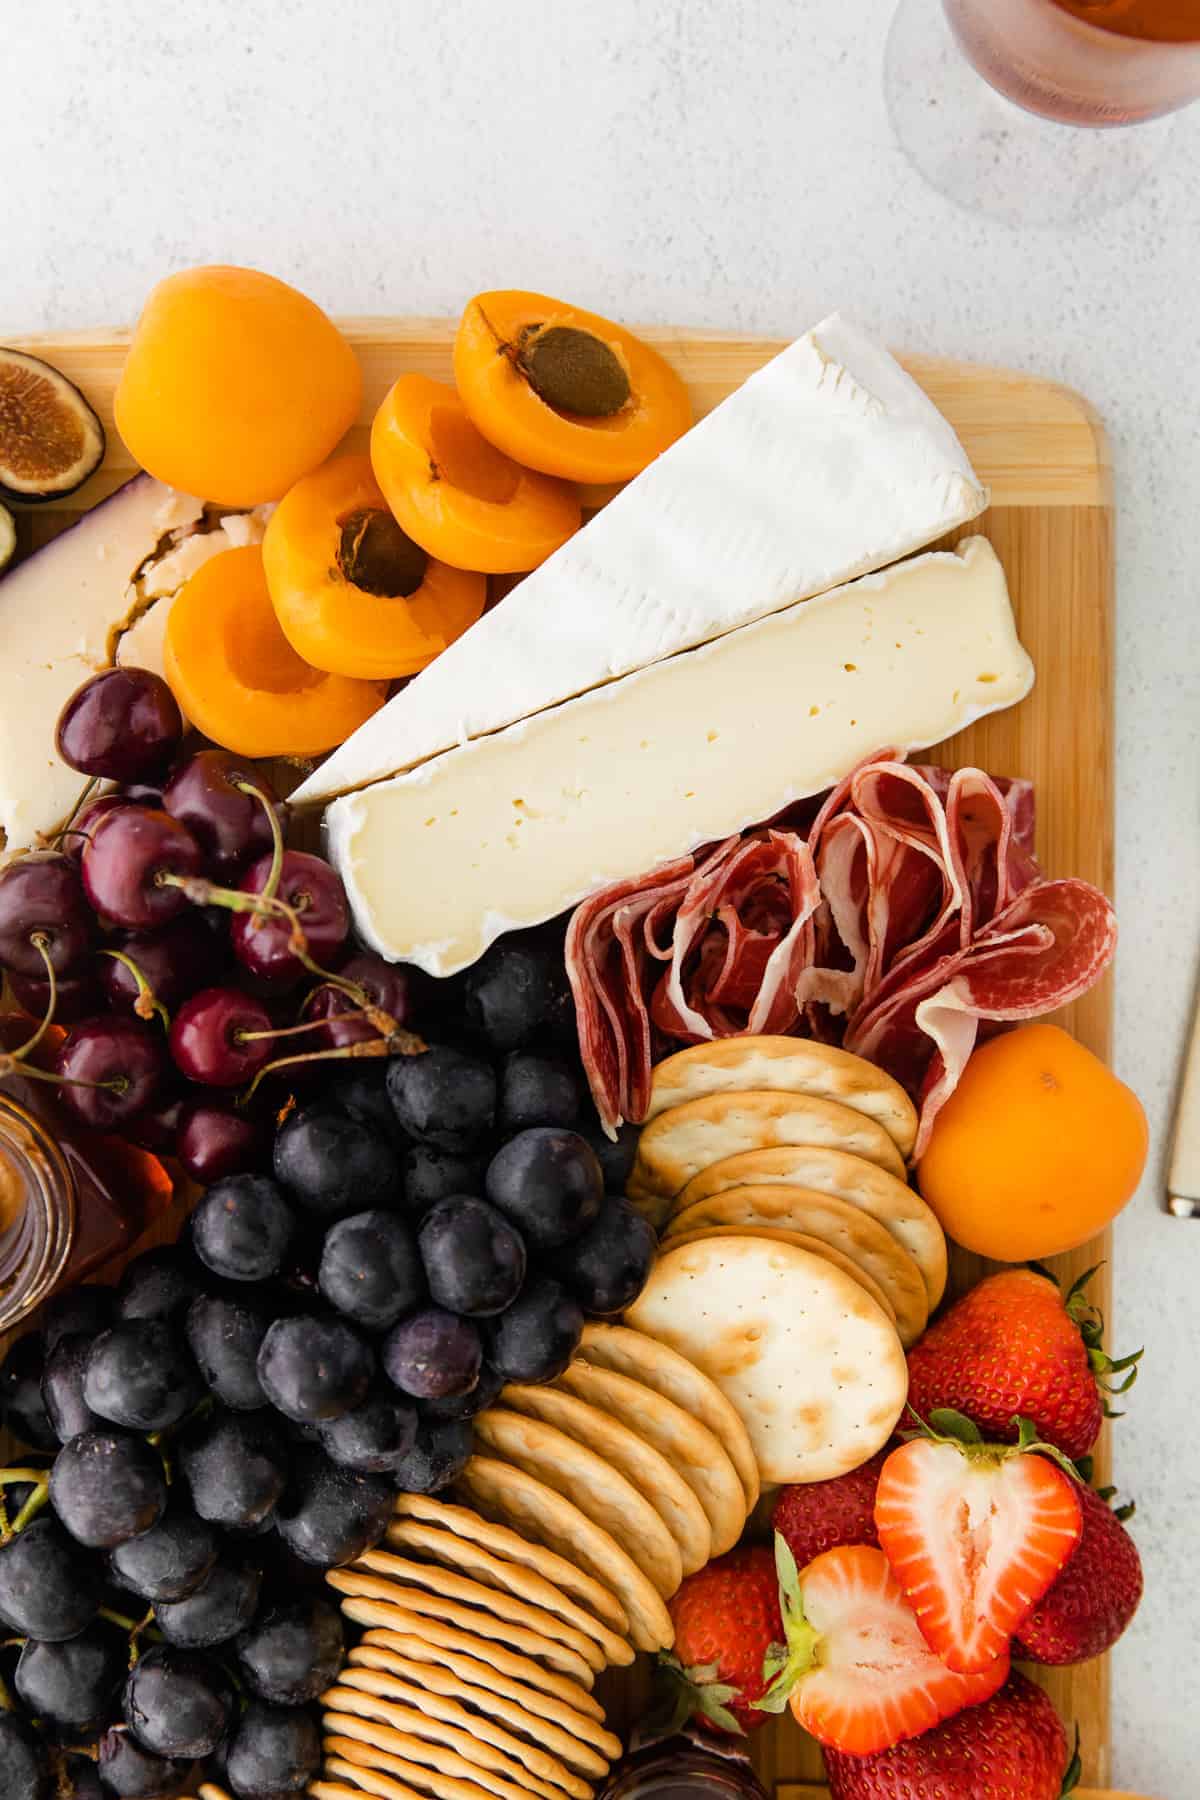
For this board, I cut the large slice of brie in half and placed one on its side so it was more inviting. I also sliced the manchego into triangles so it was easy to grab, and broke up the merlot-washed rind cheese so people could grab small shards without having to cut into the cheese themselves.
Don’t forget utensils!
Don’t forget the utensils! Make sure to have plenty of cheese knives, small tongs, or toothpicks around so everyone can grab their food without putting their hands on everyone else’s!
Storage
Got leftover meat and cheese. Whatever you do, don’t throw it out! All of these things can easily be stored in the fridge for later.
We recommend wapping each block of cheese in parchment paper and then storing them in a large plastic bag. Most cheese will last up to 2 weeks if properly stored.
As for the veggies, fruit, and meats, we recommend separating those out and storing the veggies with the veggies and meats with the meats.
How to Make a Cheese Board
Ingredients
- ½ lb. double cream brie
- ½ lb. 12-month aged manchego
- ½ lb. merlot bellavitano
- 1 bunch of red grapes
- 1 bunch of green grapes
- ¼ lb. prosciutto di parma
- ¼ lb. capicola
- ½ cup dried apricots
- 1 cup fresh strawberries
- 8 oz. mini cucumbers
- 1 cup fresh figs
- 3 fresh apricots
- 1 cup fresh cherries
- 1 4-oz. jar honey
- 1 1-oz. jar raspberry jam
Instructions
- First, place all of your cheeses on the cheese board.
- Then, spread out the rest of the ingredients so that there are clusters of fixings next to all of the cheese.
Nutrition
Nutrition information is automatically calculated, so should only be used as an approximation.
Don't forget to tag your posts on social media with the hashtag #cheeseknees, we'd love to see what you're up to!


I love making these cheese boards. I made this board and everyone loved it!