Homemade Cheez Its
9/6/2023
This post may contain affiliate links. Please read our disclosure policy.
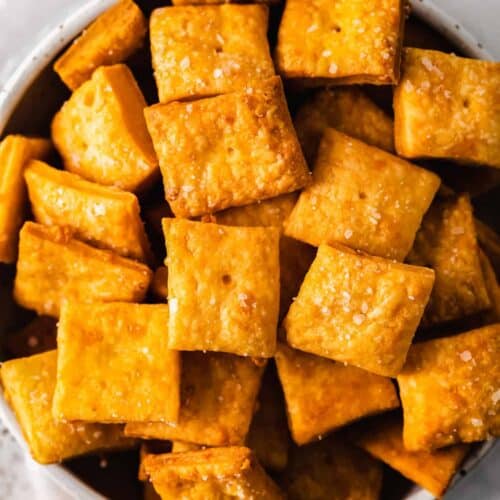
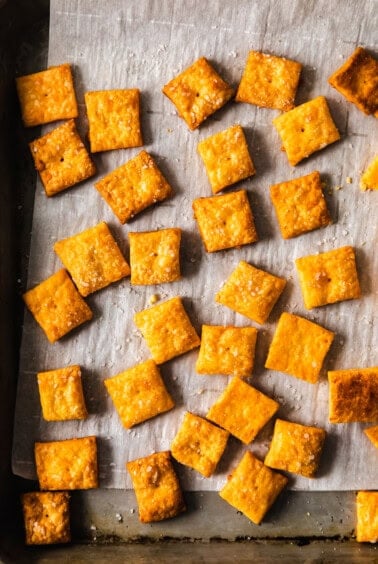
These homemade Cheez-Its are made with 6 simple ingredients. Shredded cheddar cheese, butter, water, olive oil, flour and salt. We love to double the batch and keep them on hand for a cheesy treat.
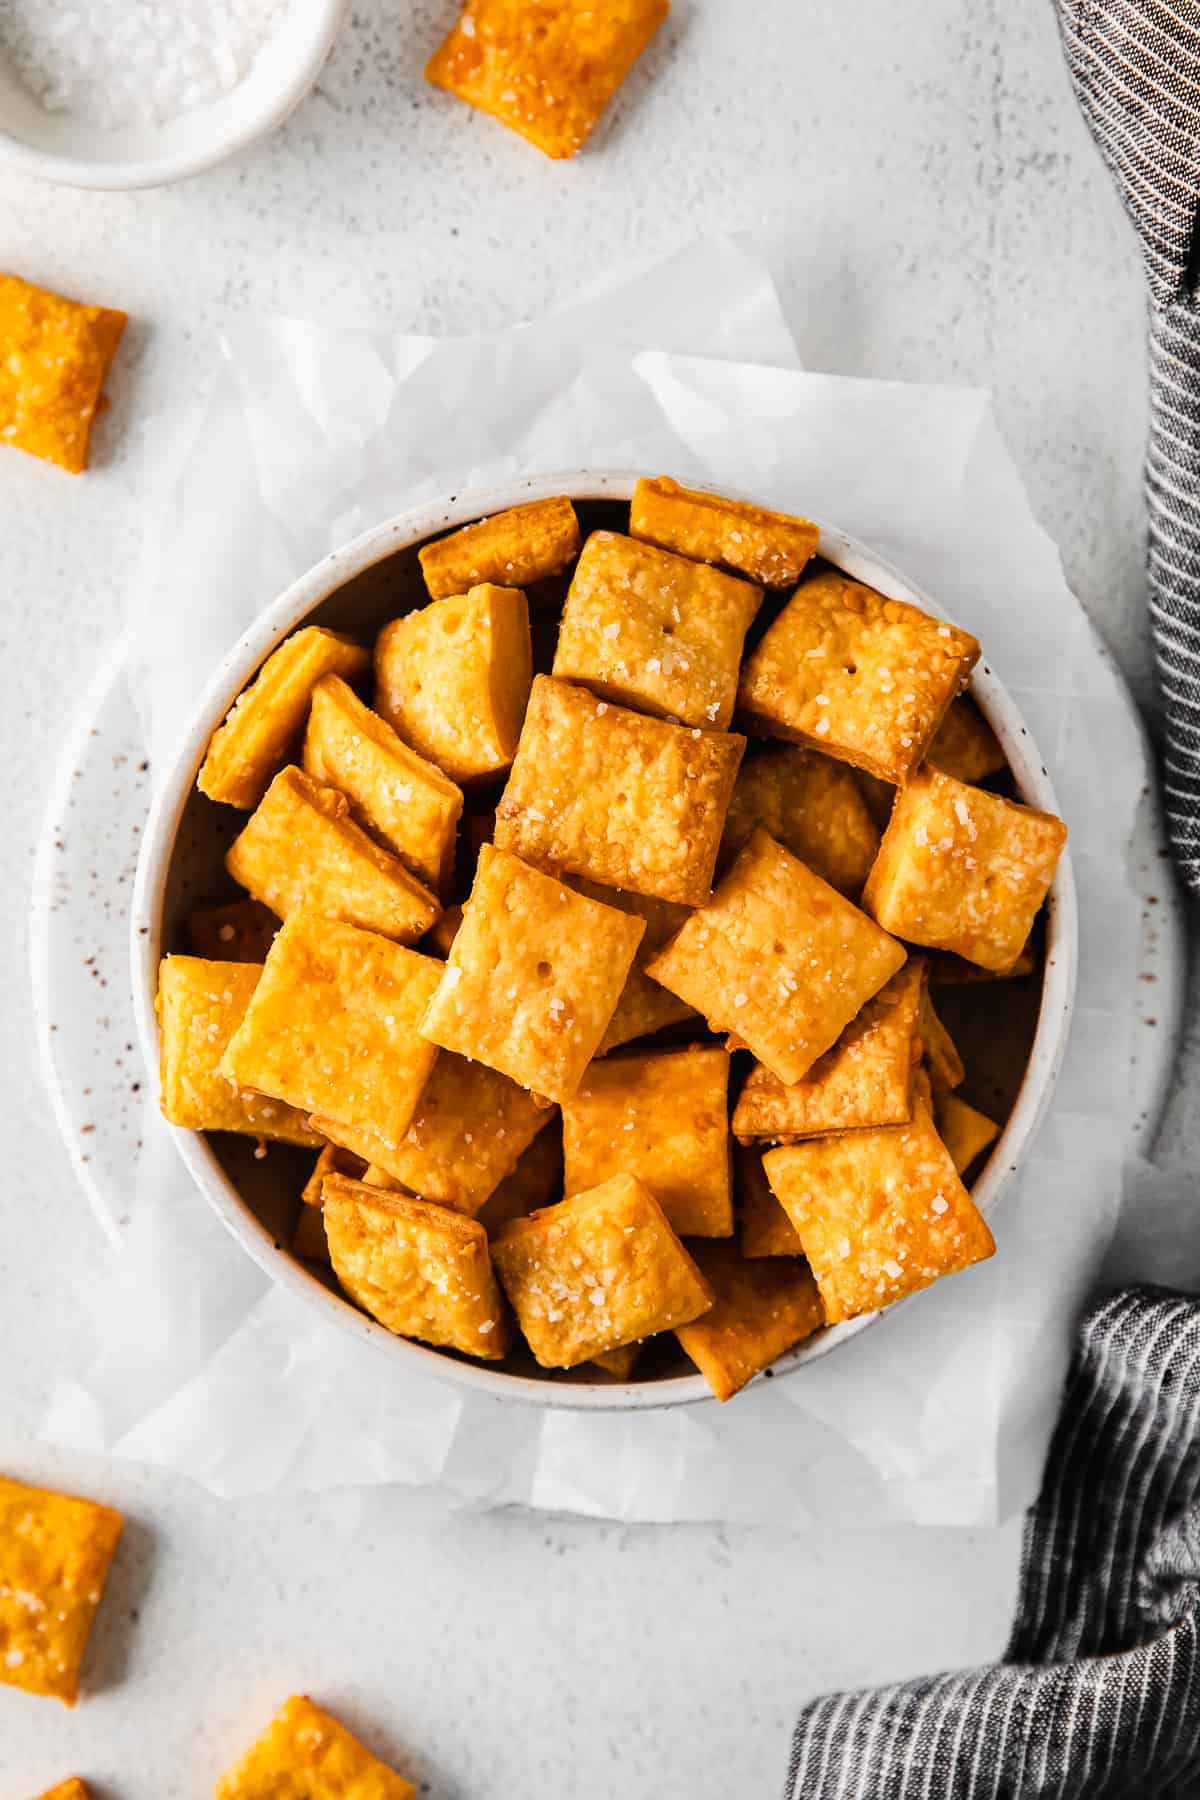
As Wisconsin gals, Cheez-Its are no strangers to our snack drawer. We love a good cheesy snack and Cheez Its make the top of our list. Since we’re a cheese site, we figured we needed a homemade Cheez-it recipe and one that’s made with real cheese!
This recipe only calls for 6 basic ingredients and yields around 4-cups of crunchy, salty, perfect homemade Cheez-Its. If you are on the hunt for more cheesy snacks, these cheese crackers with pecorino romano are divine.
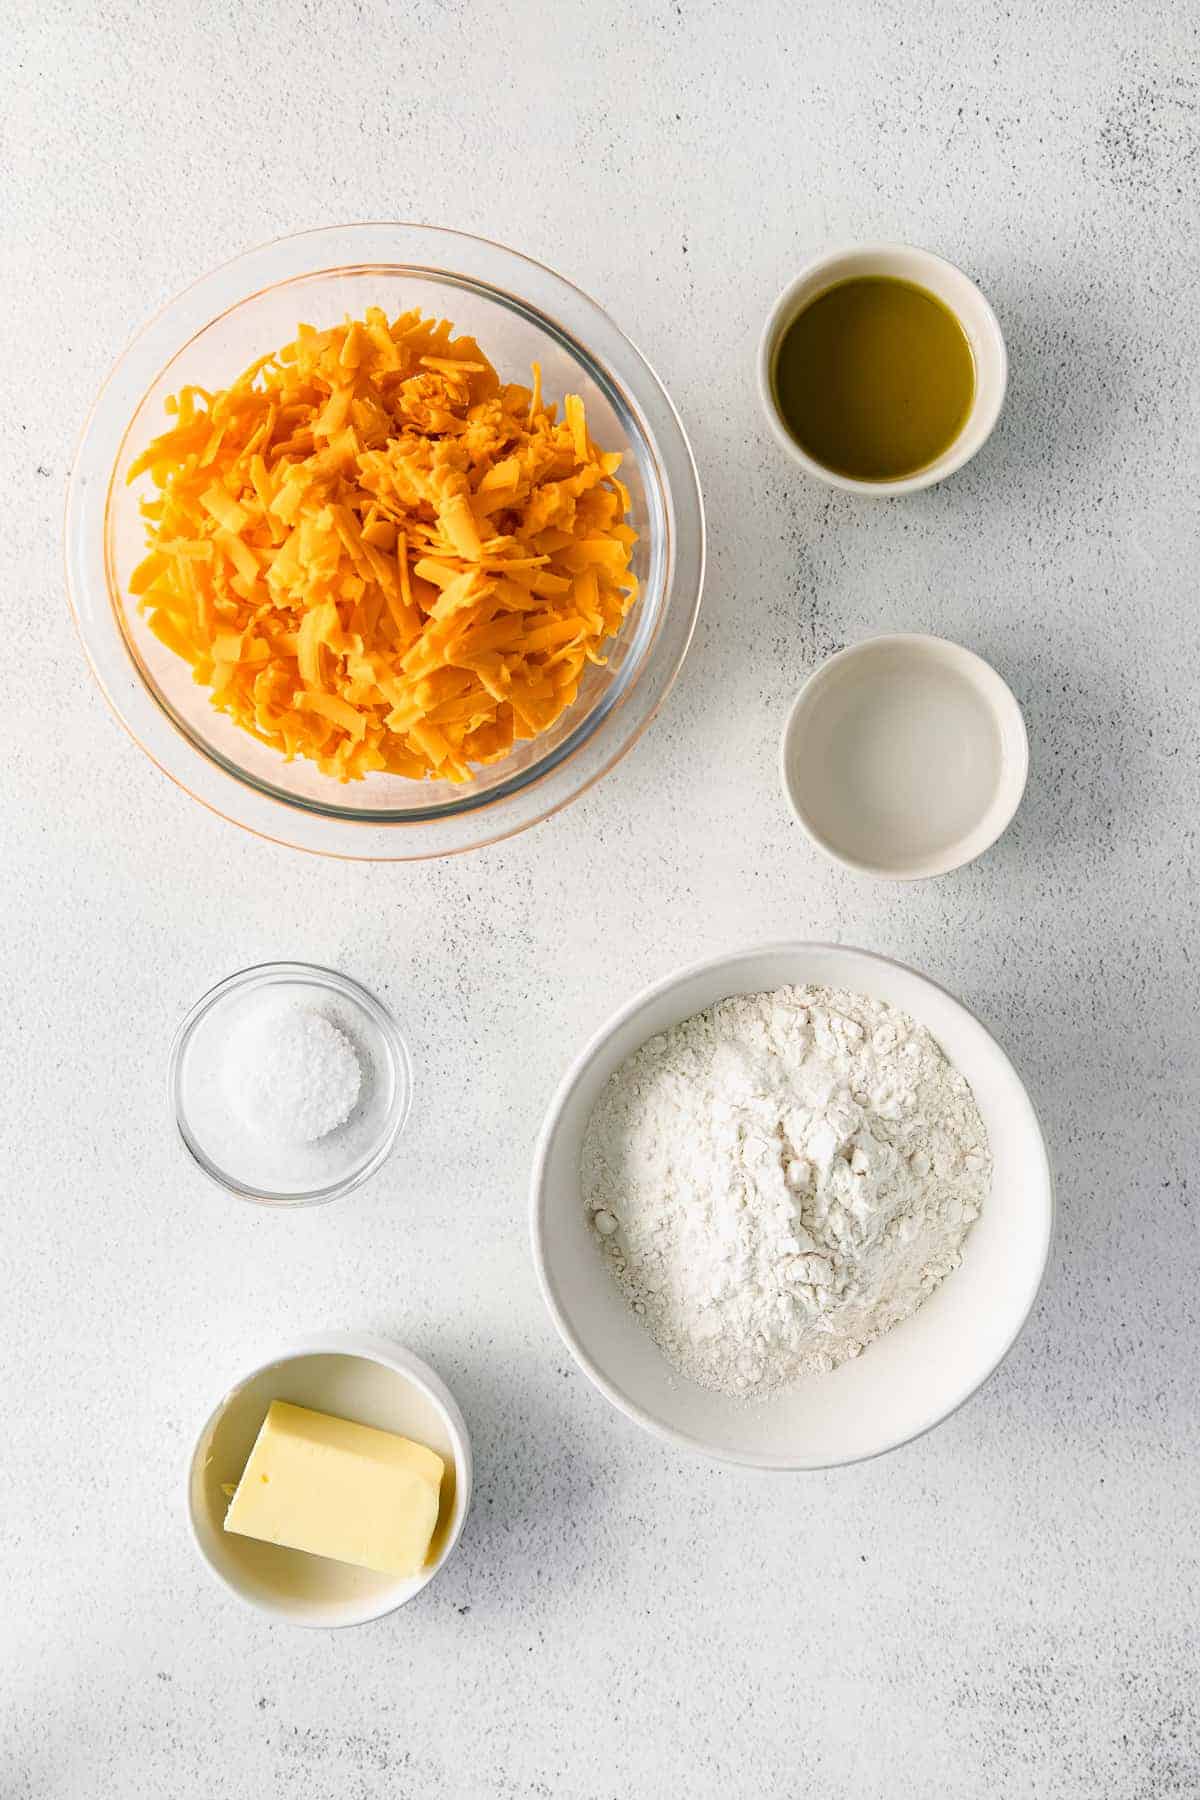
What You Need for Homemade Cheez-Its
- Butter: we recommend using unsalted butter for this recipe It’s a great way to control the salt content of the cracker.
- Cheddar cheese: both pre-grated and freshly grated cheddar cheese work. But, we always recommend going with freshly grated.
- All-purpose flour: AP flour is the base of this recipe. We haven’t tested it with anything else.
- Salt: what would a cracker be without salt? Please don’t skip it.
- Cold water: water is used to create the dough. Add a little at a time.
- Olive oil: the tops of the crackers are brushed with olive oil to make sure they come out nice and crunchy.

Get More
Cheddar Cheese Recipes
Looking for more recipes with cheddar cheese? Check out our cheesy collection of cheddar cheese recipes.
Substitutions + Variations
Feel free to substitute the cheddar cheese in these crackers. While traditional Cheez-Its use cheddar, you can experiment with other hard cheeses like Parmesan, Gouda, or Monterey Jack. However, the flavor and texture might vary slightly.
If to add different flavors to these Cheese-Its there are great options. Popular additions include garlic powder, onion powder, rosemary, and paprika. Just mix them into the dough or sprinkle on top before baking.
FAQ
Several factors can affect crispiness:
Thickness: If the crackers are too thick, they may not crisp up as well. Aim for a uniform, thin roll-out.
Oven temperature: Ensure your oven is accurately calibrated and preheated.
Baking time: Depending on size and thickness, you may need to adjust the baking time. Keep a close eye on your first batch to gauge the perfect time for your desired crispiness.
Top Tips for Perfect Homemade Cheez-Its
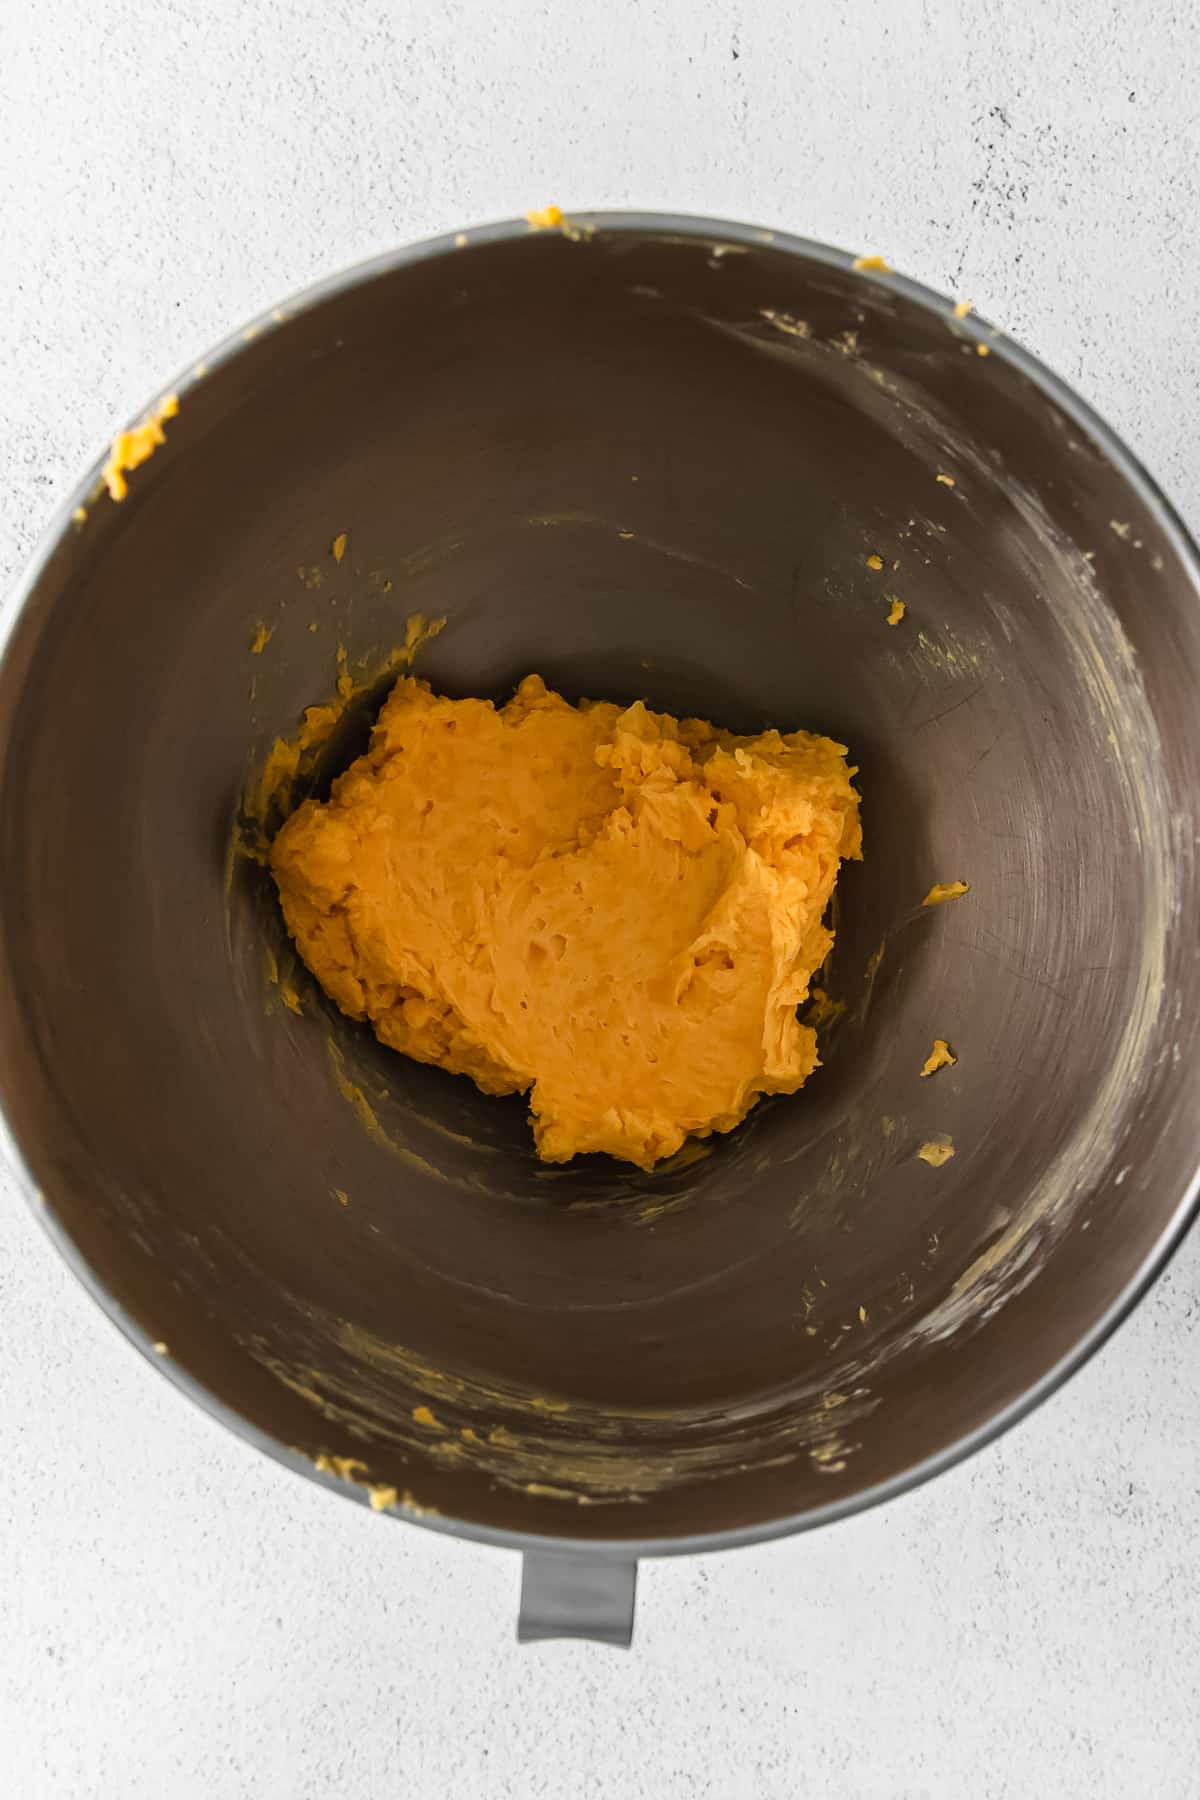
Room temperature butter: Be sure you use room temperature butter. The butter needs to cream for the shredded cheese and butter to become homogeneous.
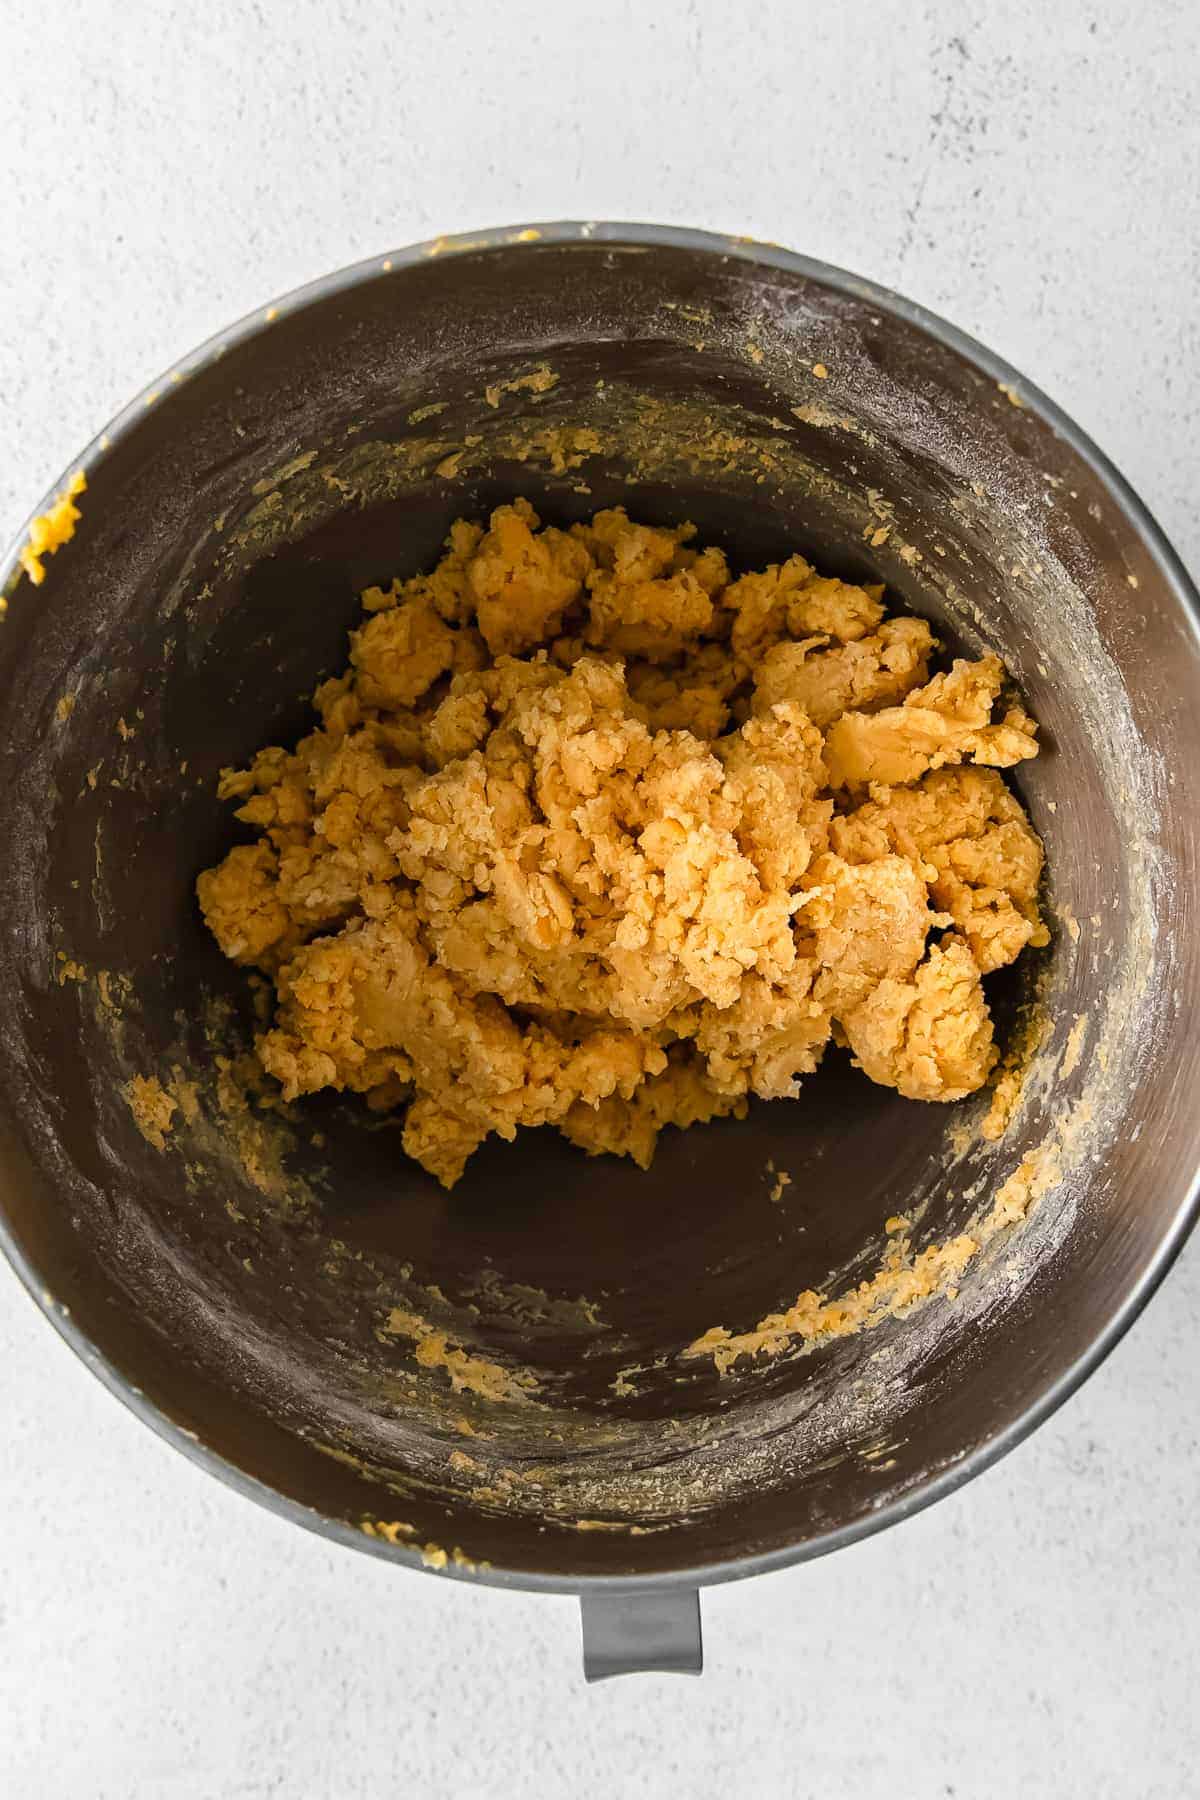
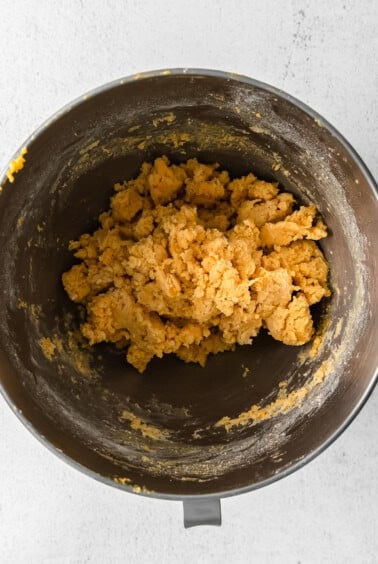
Flour tip: Don’t fret when you add the flour to the bowl, it will seem very crumbly, but that is how it is supposed to be.
Start small with water: Add 2 tablespoons of water to start and if the dough still doesn’t form, add the 3rd tablespoon.
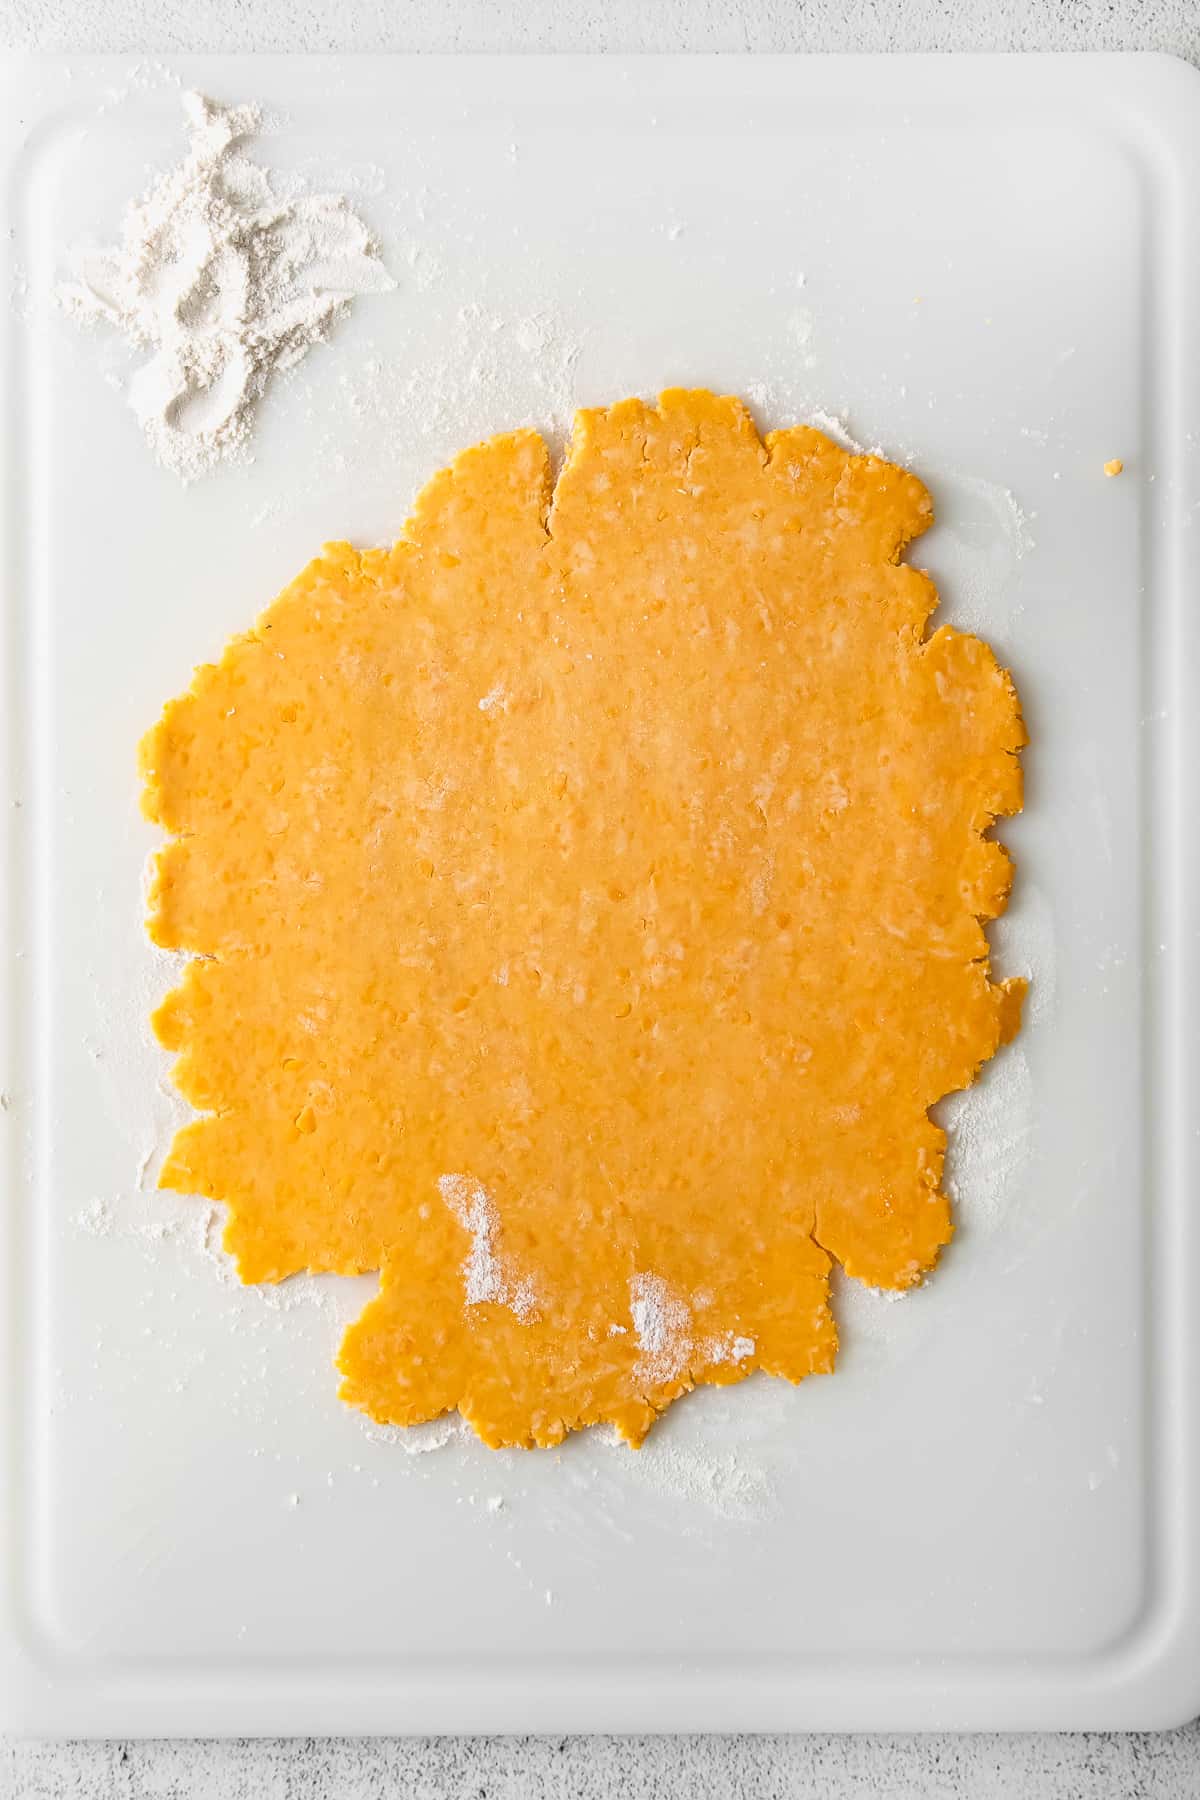
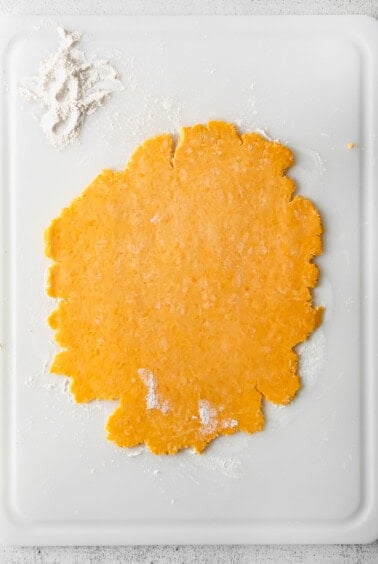
Roll it thin: Be sure you roll the dough out very thin or else you will end up with thick Cheez-Its .
Parchment paper: We liked to roll the dough out on the same parchment paper that the Cheez-Its are baked on to make life easier when transferring the Cheez-Its to the baking sheet.
Storage Suggestions
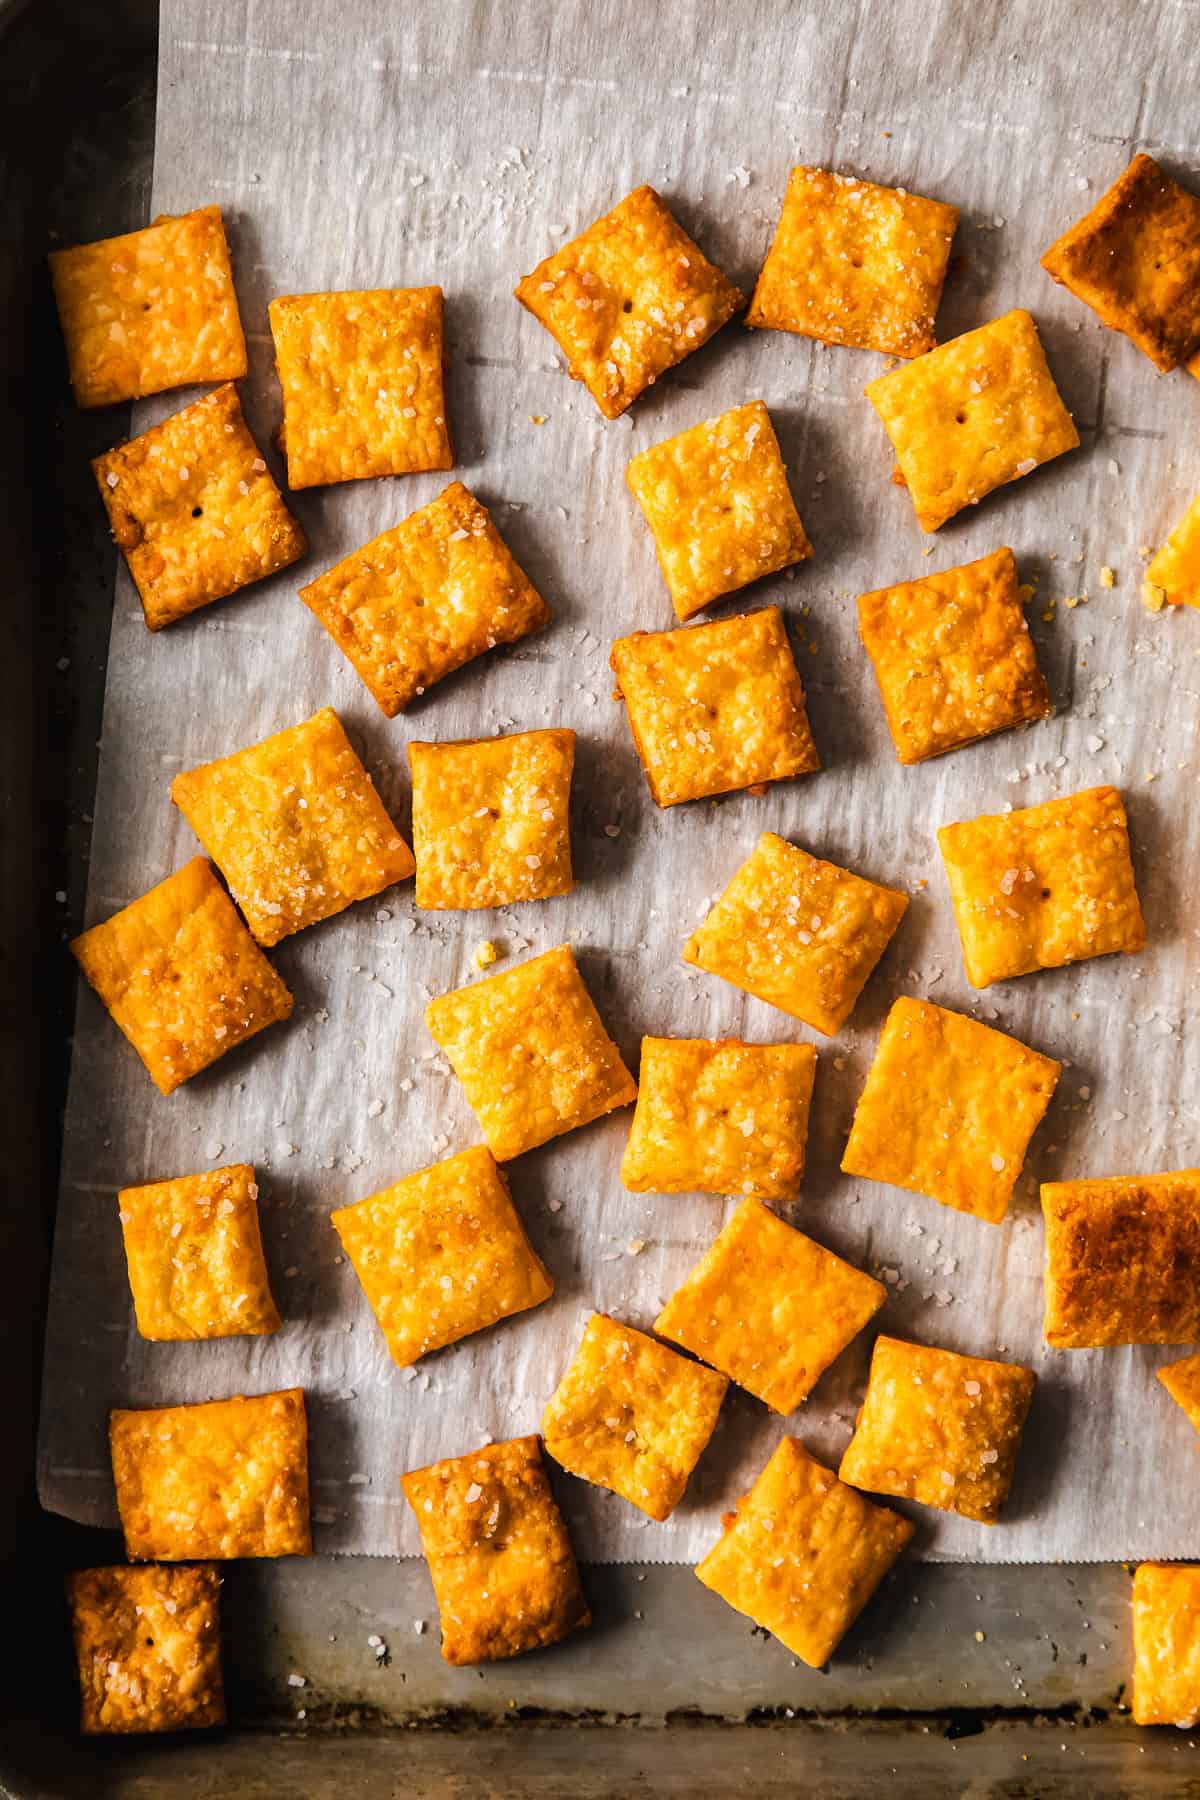
Let your crackers cool completely. Then, transfer them into an airtight container and store in a cool, dark place for up to 1 week.
Serving Suggestions
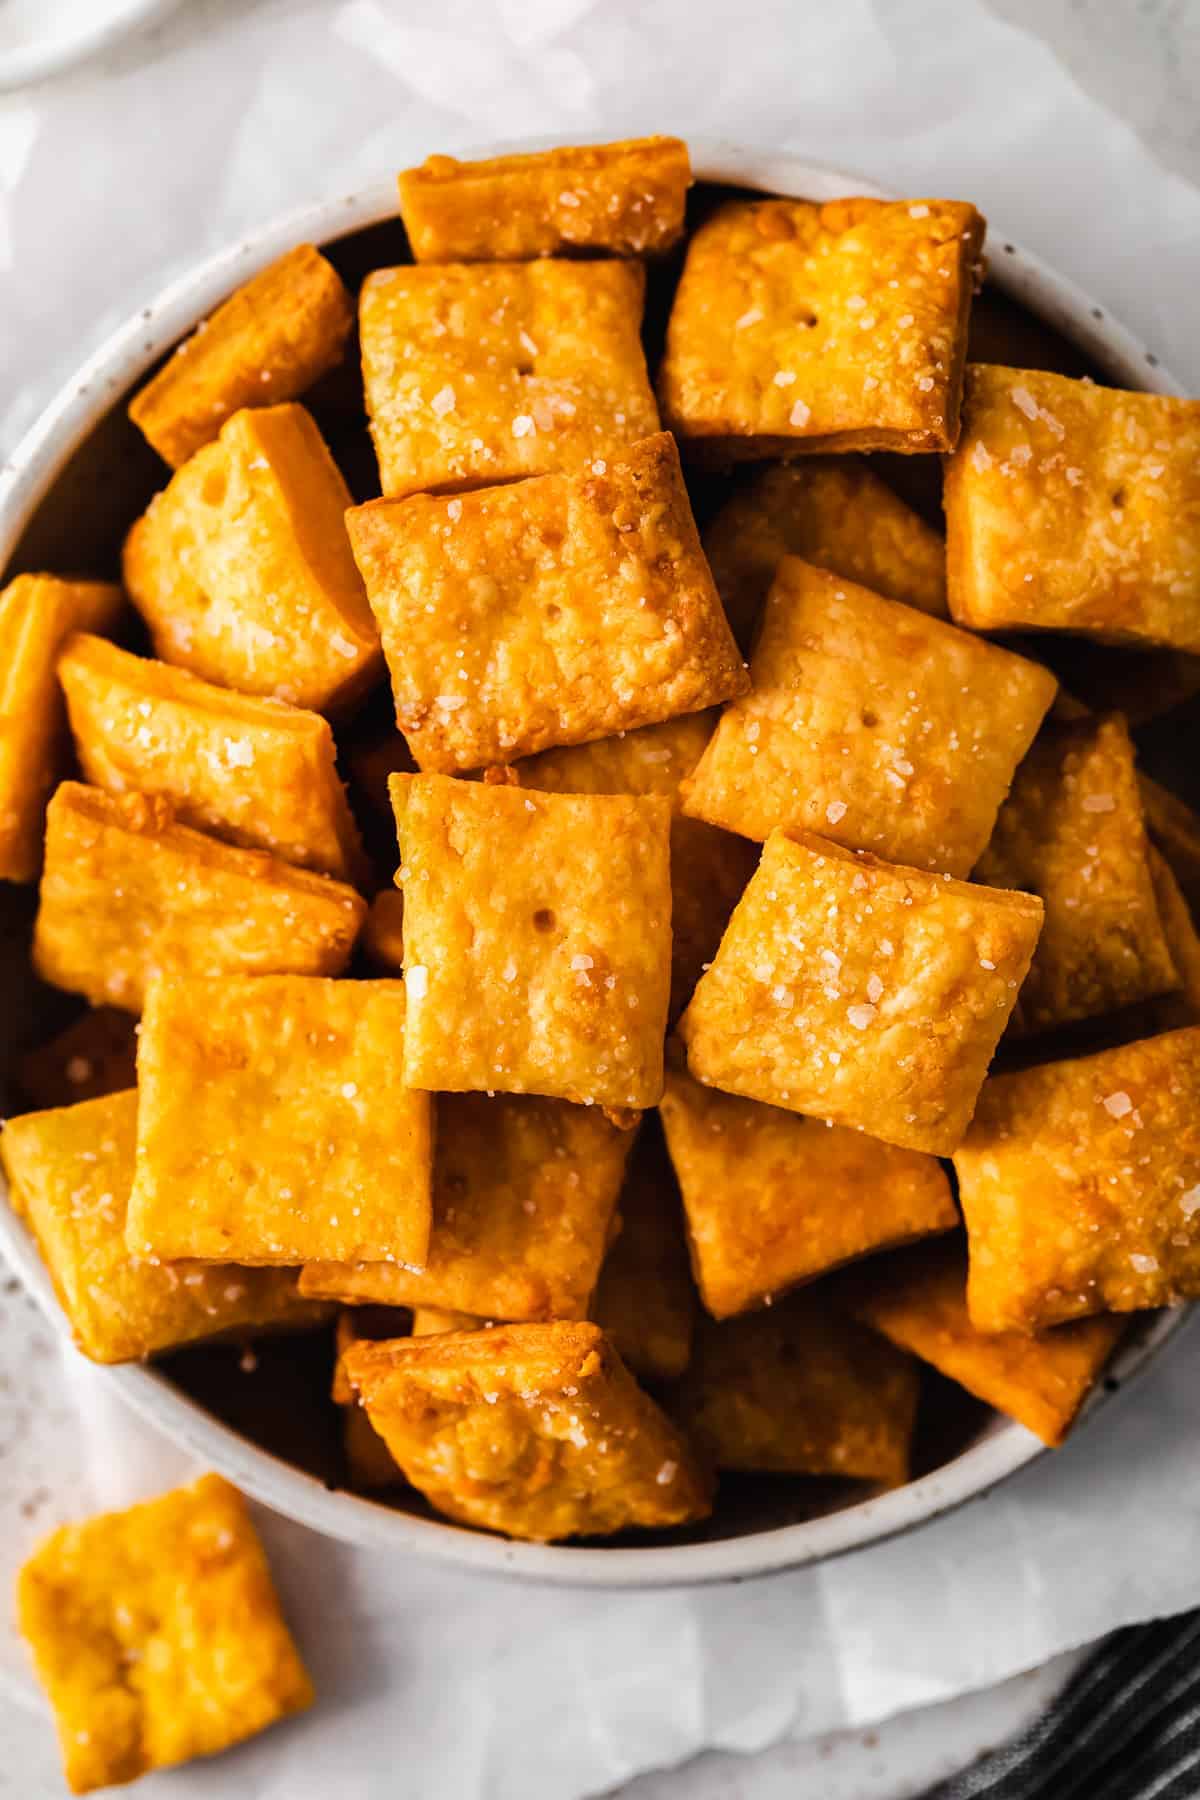
Serve these Cheese-Its at a fun gathering and serve them with a delicious dip. Our homemade top-the-tater, sizzling scallion dip. or chicken bacon ranch dip would be delicious with these Cheese-Its.
Homemade Cheez Its
Ingredients
- ¼ cup unsalted butter, room temperature
- 8 oz. sharp cheddar cheese, shredded
- 1 ¼ cups all-purpose flour
- 1 teaspoon kosher salt + more for topping
- 2-3 tablespoons cold water
- 2 tablespoons olive oil
Instructions
- Place the butter and sharp cheddar cheese into a mixing bowl. Using a standing mixer or an electric mixer, mix the two ingredients together on medium/high speed for 4-5 minutes or until the mixture becomes smooth, combined, and fluffy.
- Add 1 teaspoon of salt to the flour and whisk the two together. Slowly add the flour and salt to the bowl and mix the ingredients together on low speed. The mixture will begin to turn into a dry crumble.

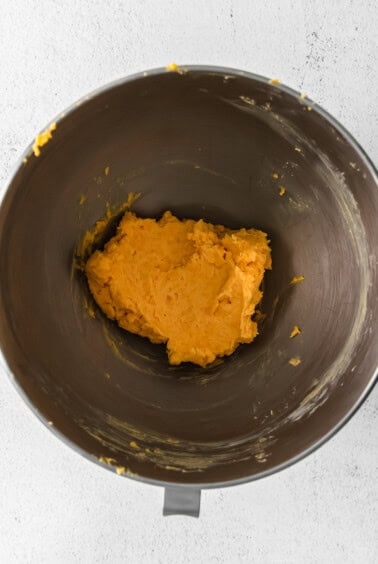
- Once all of the flour has been added to the bowl, slowly add the cold water by the teaspoon to the bowl. A dough will begin to form.

- Next, form the dough into a ball and then flatten it into a disk shape. Wrap the dough in plastic wrap and place in the refrigerator for at least 1 hour.

- Remove the dough from the fridge and preheat the oven to 375ºF.
- Lay a piece of parchment paper down on the counter and roll the dough out into a large rectangle that is less than ⅛ inch thick.
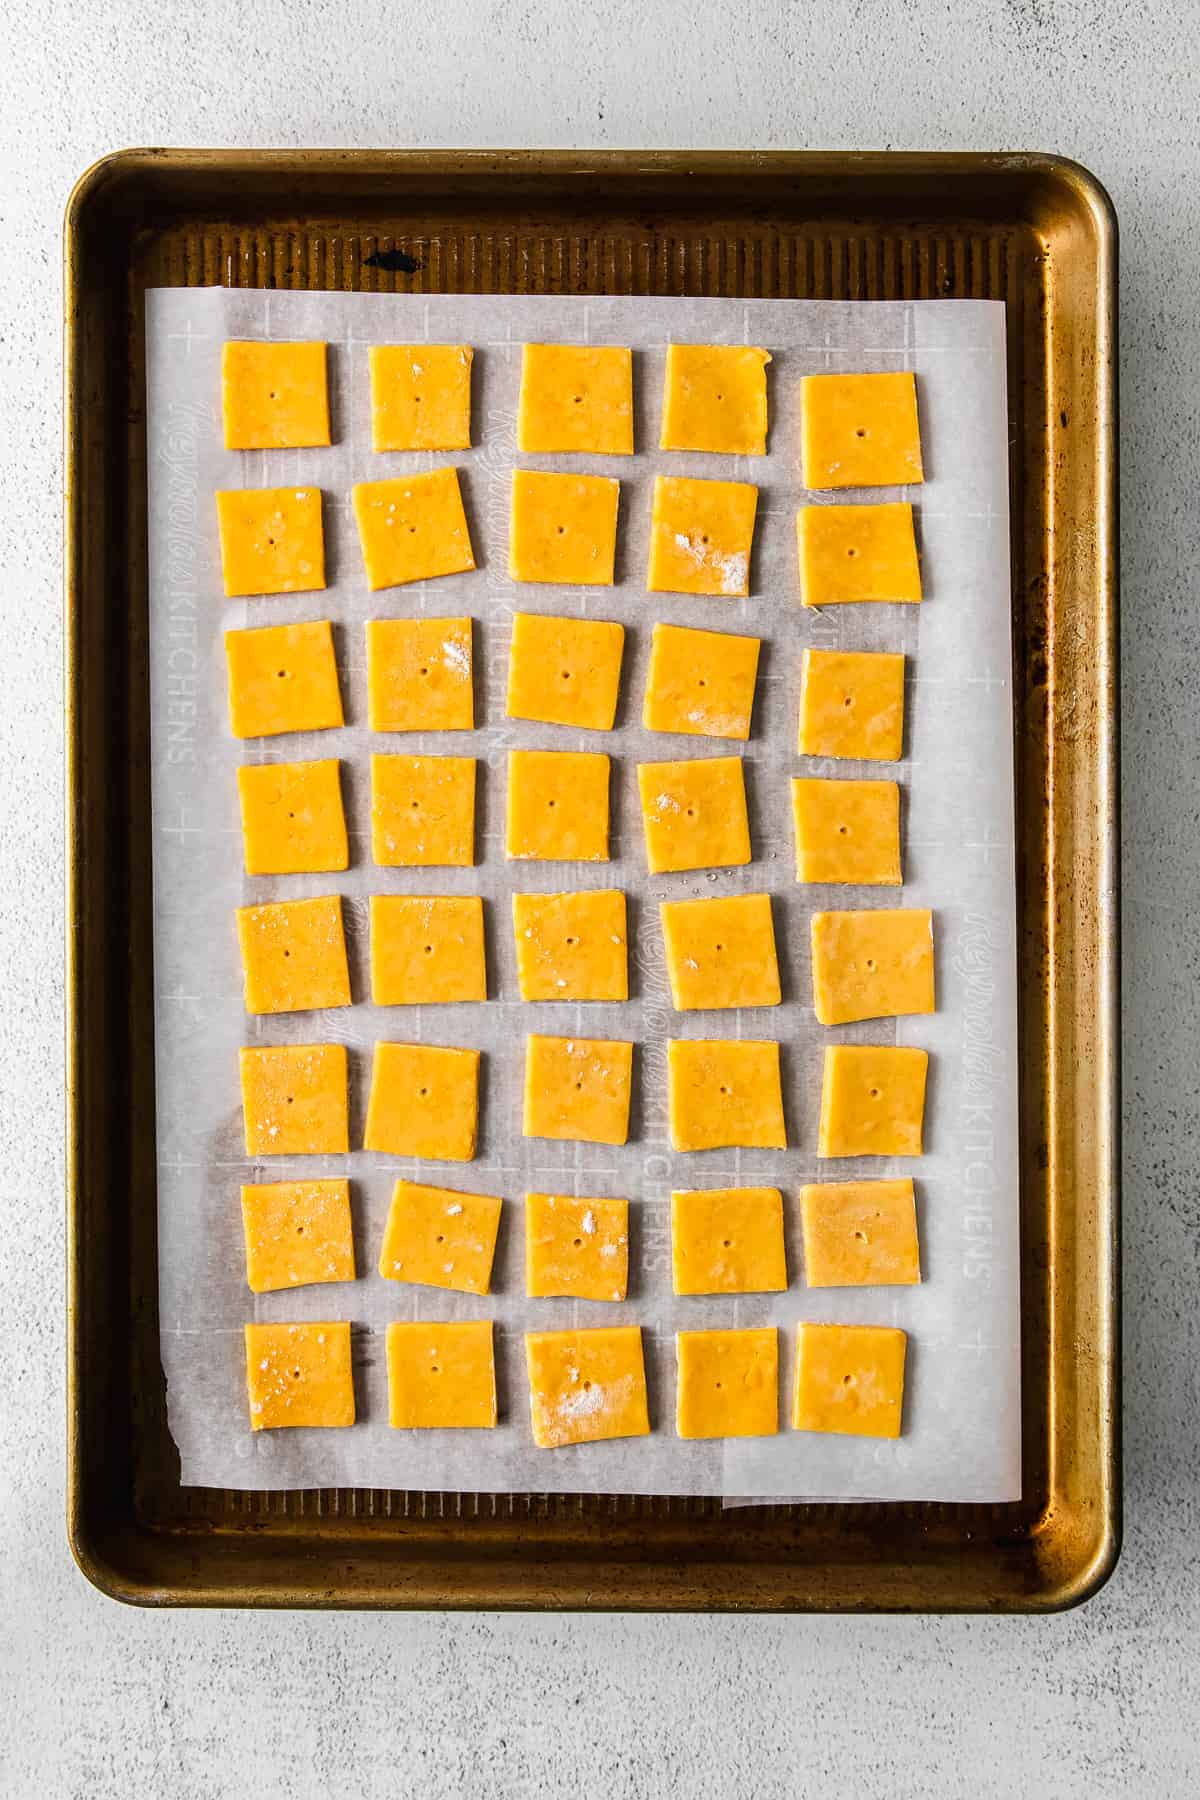
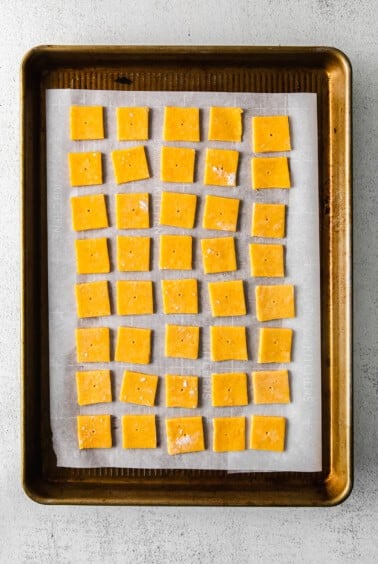
- Use a ruler to measure out 1-inch marks vertically and horizontally to create a grid for cutting the dough into 1-inch squares.
- Carefully use a pizza cutter or pastry cutter to cut straight lines from the markings you have made with the ruler. Be careful not to cut the parchment paper!
- Once all of the 1-inch squares have been cut, use the flat end of a wooden skewer to make small holes in the center of each square.

- Carefully transfer the parchment paper to a large baking sheet and be sure all of the squares aren’t touching.
- Finally, brush each cheese square with olive oil and sprinkle them with kosher salt.
- Place the baking sheet in the oven for 15-17 minutes or until they begin to brown.
- Remove from the oven and immediately remove the parchment paper from the baking sheet and place it on a cooling rack.

Tips & Notes
- This recipe yields around 4 cups of Cheez Its.
- Every oven is different, and make sure to check halfway. Our oven is hotter on one side, so if one side is darker, flip it.
Watch It
Nutrition
Nutrition information is automatically calculated, so should only be used as an approximation.
Don’t forget to tag your posts on social media with the hashtag #cheeseknees, we’d love to see what you’re up to!



Can you use pre shredded cheese?
This looks so good! What a great way to only have the good stuff!
Totally!
How long do these keep for in airtight container?
Thanks for sharing! Do they freeze well?
They do! Just make sure you allow them to cool before freezing 😀
This looks so good! What a fun recipe to make with kids!
Made these today with the kiddos during a blizzard. The dough was easy to put together, needed a little more water than the recipe called for (could be the insanely dry air here right now). I was scared to over bake these and didn’t bake the first batch quite long enough (still delicious just a bit chewy), second batch I left in an extra 2 minutes and they were perfectly crunchy. All in all a good cooking project that taste delicious!
Look at those beautiful cheez its! 👀 And such a fun idea to make them with the kids!